Verdicts & Evidence
How to record Pass/Fail/NA verdicts, attach photo evidence with GPS, and manage notes on checklist items.
Each checklist item in an inspection needs a verdict. This guide covers how to record verdicts, what's required, and how to attach evidence.
Verdict Options
| Verdict | Symbol | Color | Notes | Evidence |
|---|---|---|---|---|
| Pass | ✓ | Green | Optional | Optional (required if the item itself requires evidence) |
| Fail | ✗ | Red | Mandatory | Required if policy enabled, or if the item requires evidence |
| — | Gray | Optional | Required if the item itself requires evidence |
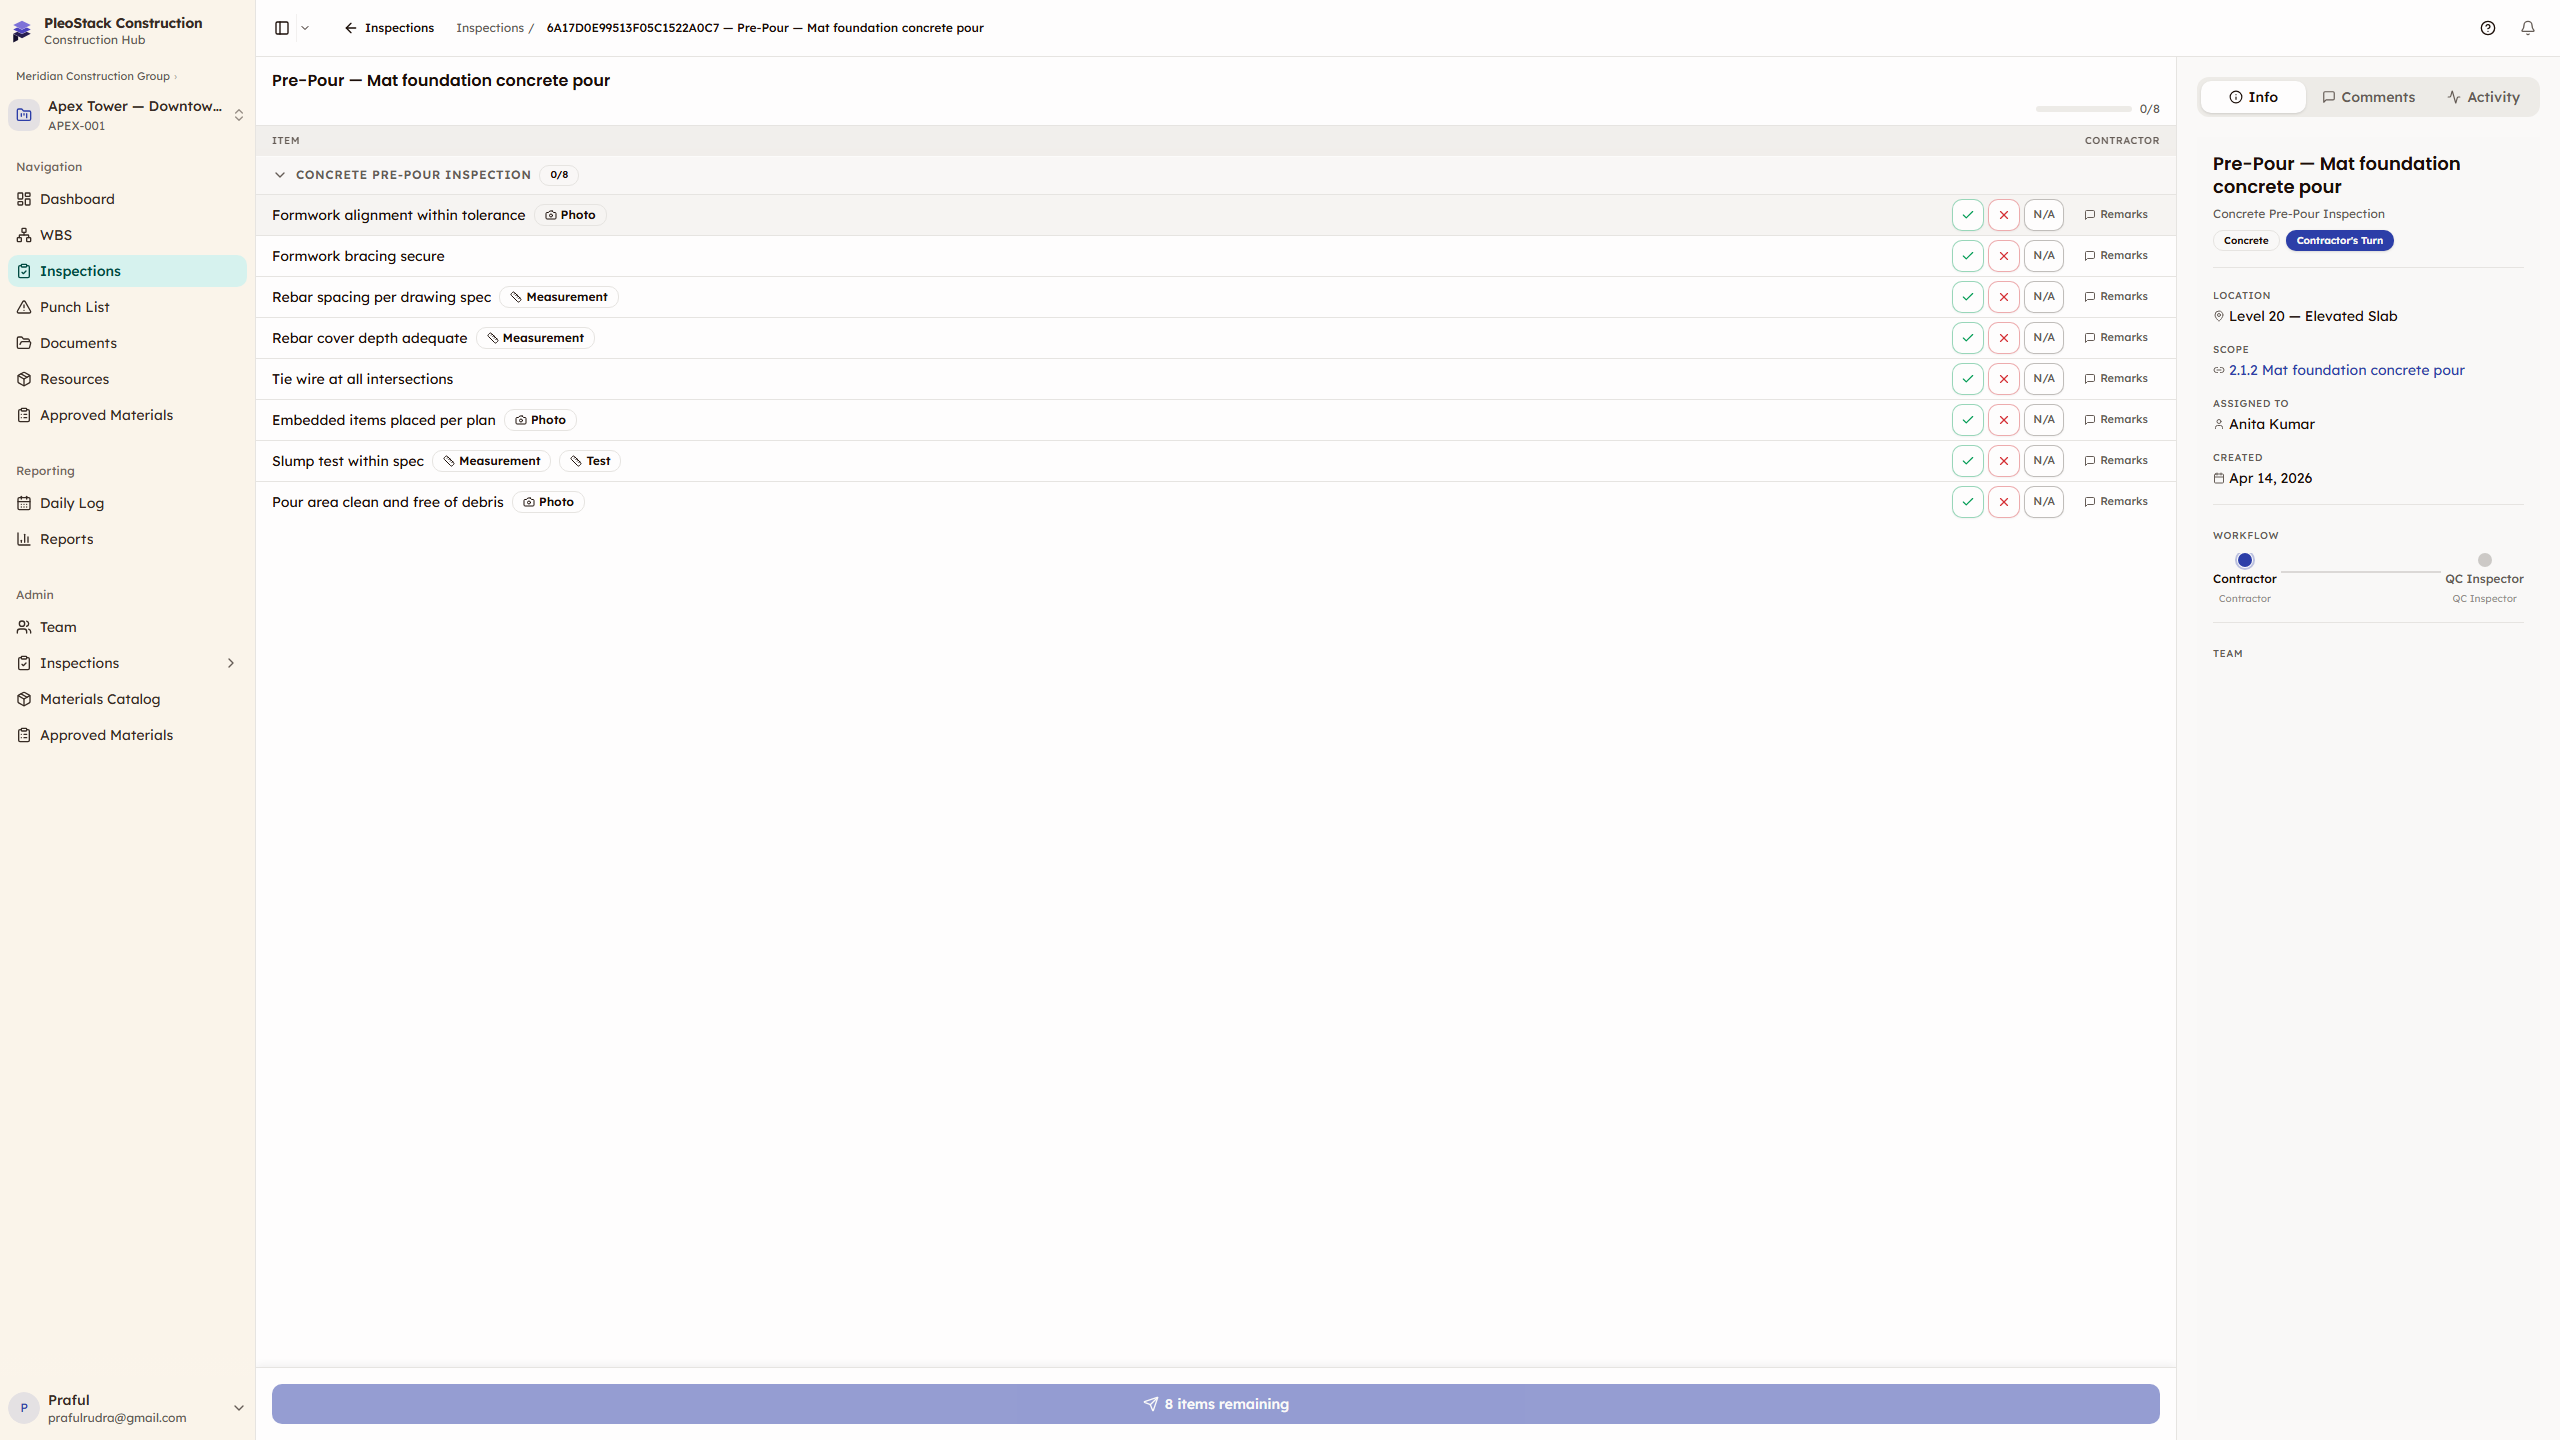
Click the verdict button on the item row. To change, click a different button — the previous selection is replaced immediately. Verdicts are stored locally until you submit.
Recording a Verdict
From the table (desktop):
- Find the checklist item row
- Click Pass, Fail, or N/A button
- For failures — the notes field highlights as required
From the item detail sheet:
- Click the item label to open the side drawer
- Select your verdict
- Add notes and evidence in the same panel
- Close the drawer — changes are saved locally
Notes
Notes provide context for your verdict:
- Mandatory on Fail — explain what's wrong. Be specific: "Rebar spacing 180mm, drawing specifies 150mm" not just "Failed".
- Optional on Pass — add observations: "Within tolerance, 148mm measured"
- Optional on N/A — explain why not applicable: "Section not yet poured"
- Multi-line — supports detailed descriptions
- Notes are visible to all subsequent parties during review
Use specific, measurable descriptions in failure notes. Reference drawing numbers, specifications, and measured values. These notes become part of the permanent record and may be reviewed by clients or auditors.
Photo Evidence
Attach photos to document the condition of each item:
- Click the camera/evidence button on the item row or in the detail sheet
- Take a photo or select from your device gallery
- GPS coordinates are auto-captured from your device location
- Multiple photos can be attached per item
- Evidence appears as thumbnails on the item row
What Gets Captured
| Data | Source | Stored |
|---|---|---|
| Photo | Camera or gallery | Uploaded to project storage |
| GPS coordinates | Device location | Attached to the evidence record |
| Timestamp | Device clock | Recorded automatically |
| Captured by | Logged-in user | Attributed to the submitting party |
Evidence Policies
Require Evidence on Fail
When this policy is enabled (Admin → Inspection Policies), at least one photo or document must be attached for every failed item. The evidence field becomes required — you cannot submit the inspection without it.
Item-level evidence overrides the policy
Checklist items configured to require evidence always require a photo or document on any verdict (pass or fail), even when the "Require Evidence on Fail" policy is off. The item detail drawer marks the field as required and blocks submission until evidence is attached.
Best Practices
- Capture photos at the point of inspection — don't wait until later
- Include reference markers (ruler, level, tape measure) in photos for clarity
- Photo metadata (GPS, timestamp) is stored automatically — no manual entry needed
- Evidence is immutable after submission — it becomes part of the audit trail
Auto-Create Punch Items
For failed items, you can toggle automatic punch item creation:
- Toggle ON → a punch item is created in the Punch List, linked to this inspection item
- Toggle OFF → no punch item created (you can still create one manually later)
- The toggle's default state follows the project's inspection policy setting
- Performers always default to OFF (they don't raise punches against themselves)
Auto-created punch items inherit the checklist item label as the title and maintain a link back to the source inspection. This enables automatic closure during reinspection when all punches are resolved.
Submission Validation
Before you can submit, all requirements must be met:
| Check | Requirement |
|---|---|
| All items have verdicts | Every item needs Pass, Fail, or N/A |
| Notes on failures | Every failed item needs explanatory notes |
| Evidence on failures | Every failed item needs at least one photo (when policy enabled) |
Items missing required data show validation warnings. The Submit button shows a count of outstanding items.
Next Steps
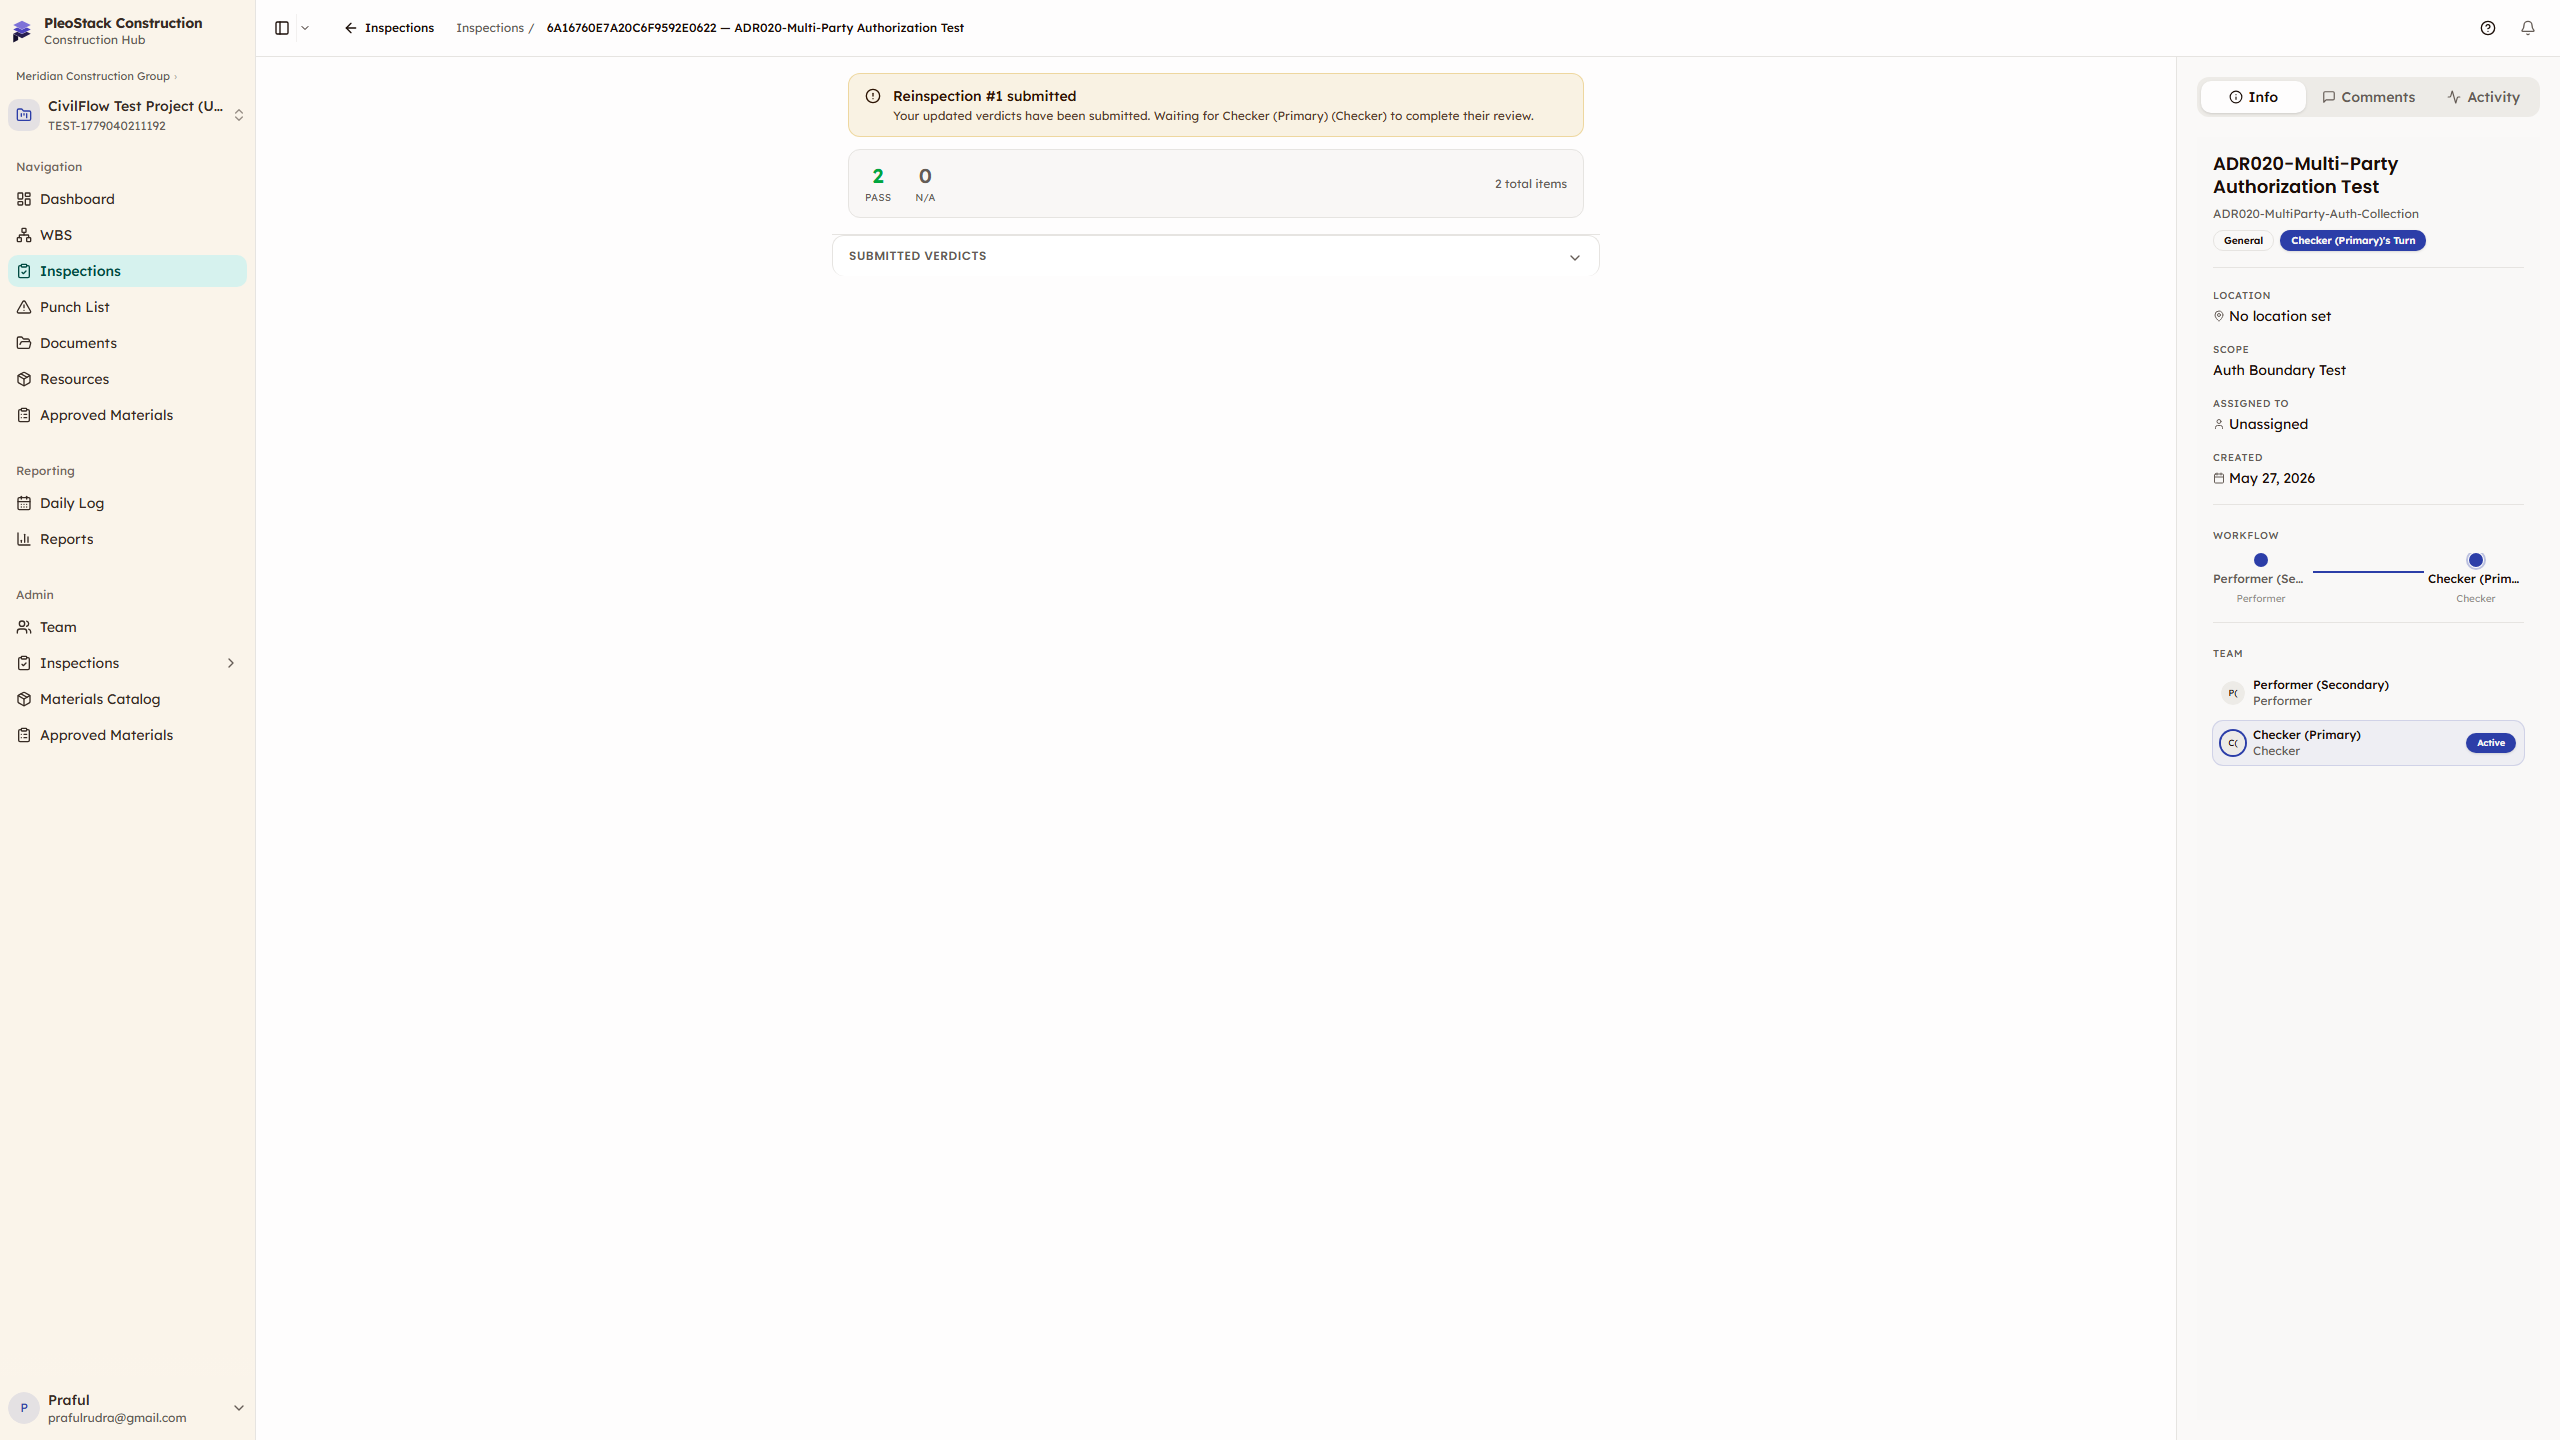
- Multi-Party Flow — How your verdicts flow through the review chain
- Reinspection — What happens to your verdicts when an inspection is rejected