Inspection Execution — Overview
What the inspection detail page looks like and how to record verdicts, attach evidence, and submit for review.
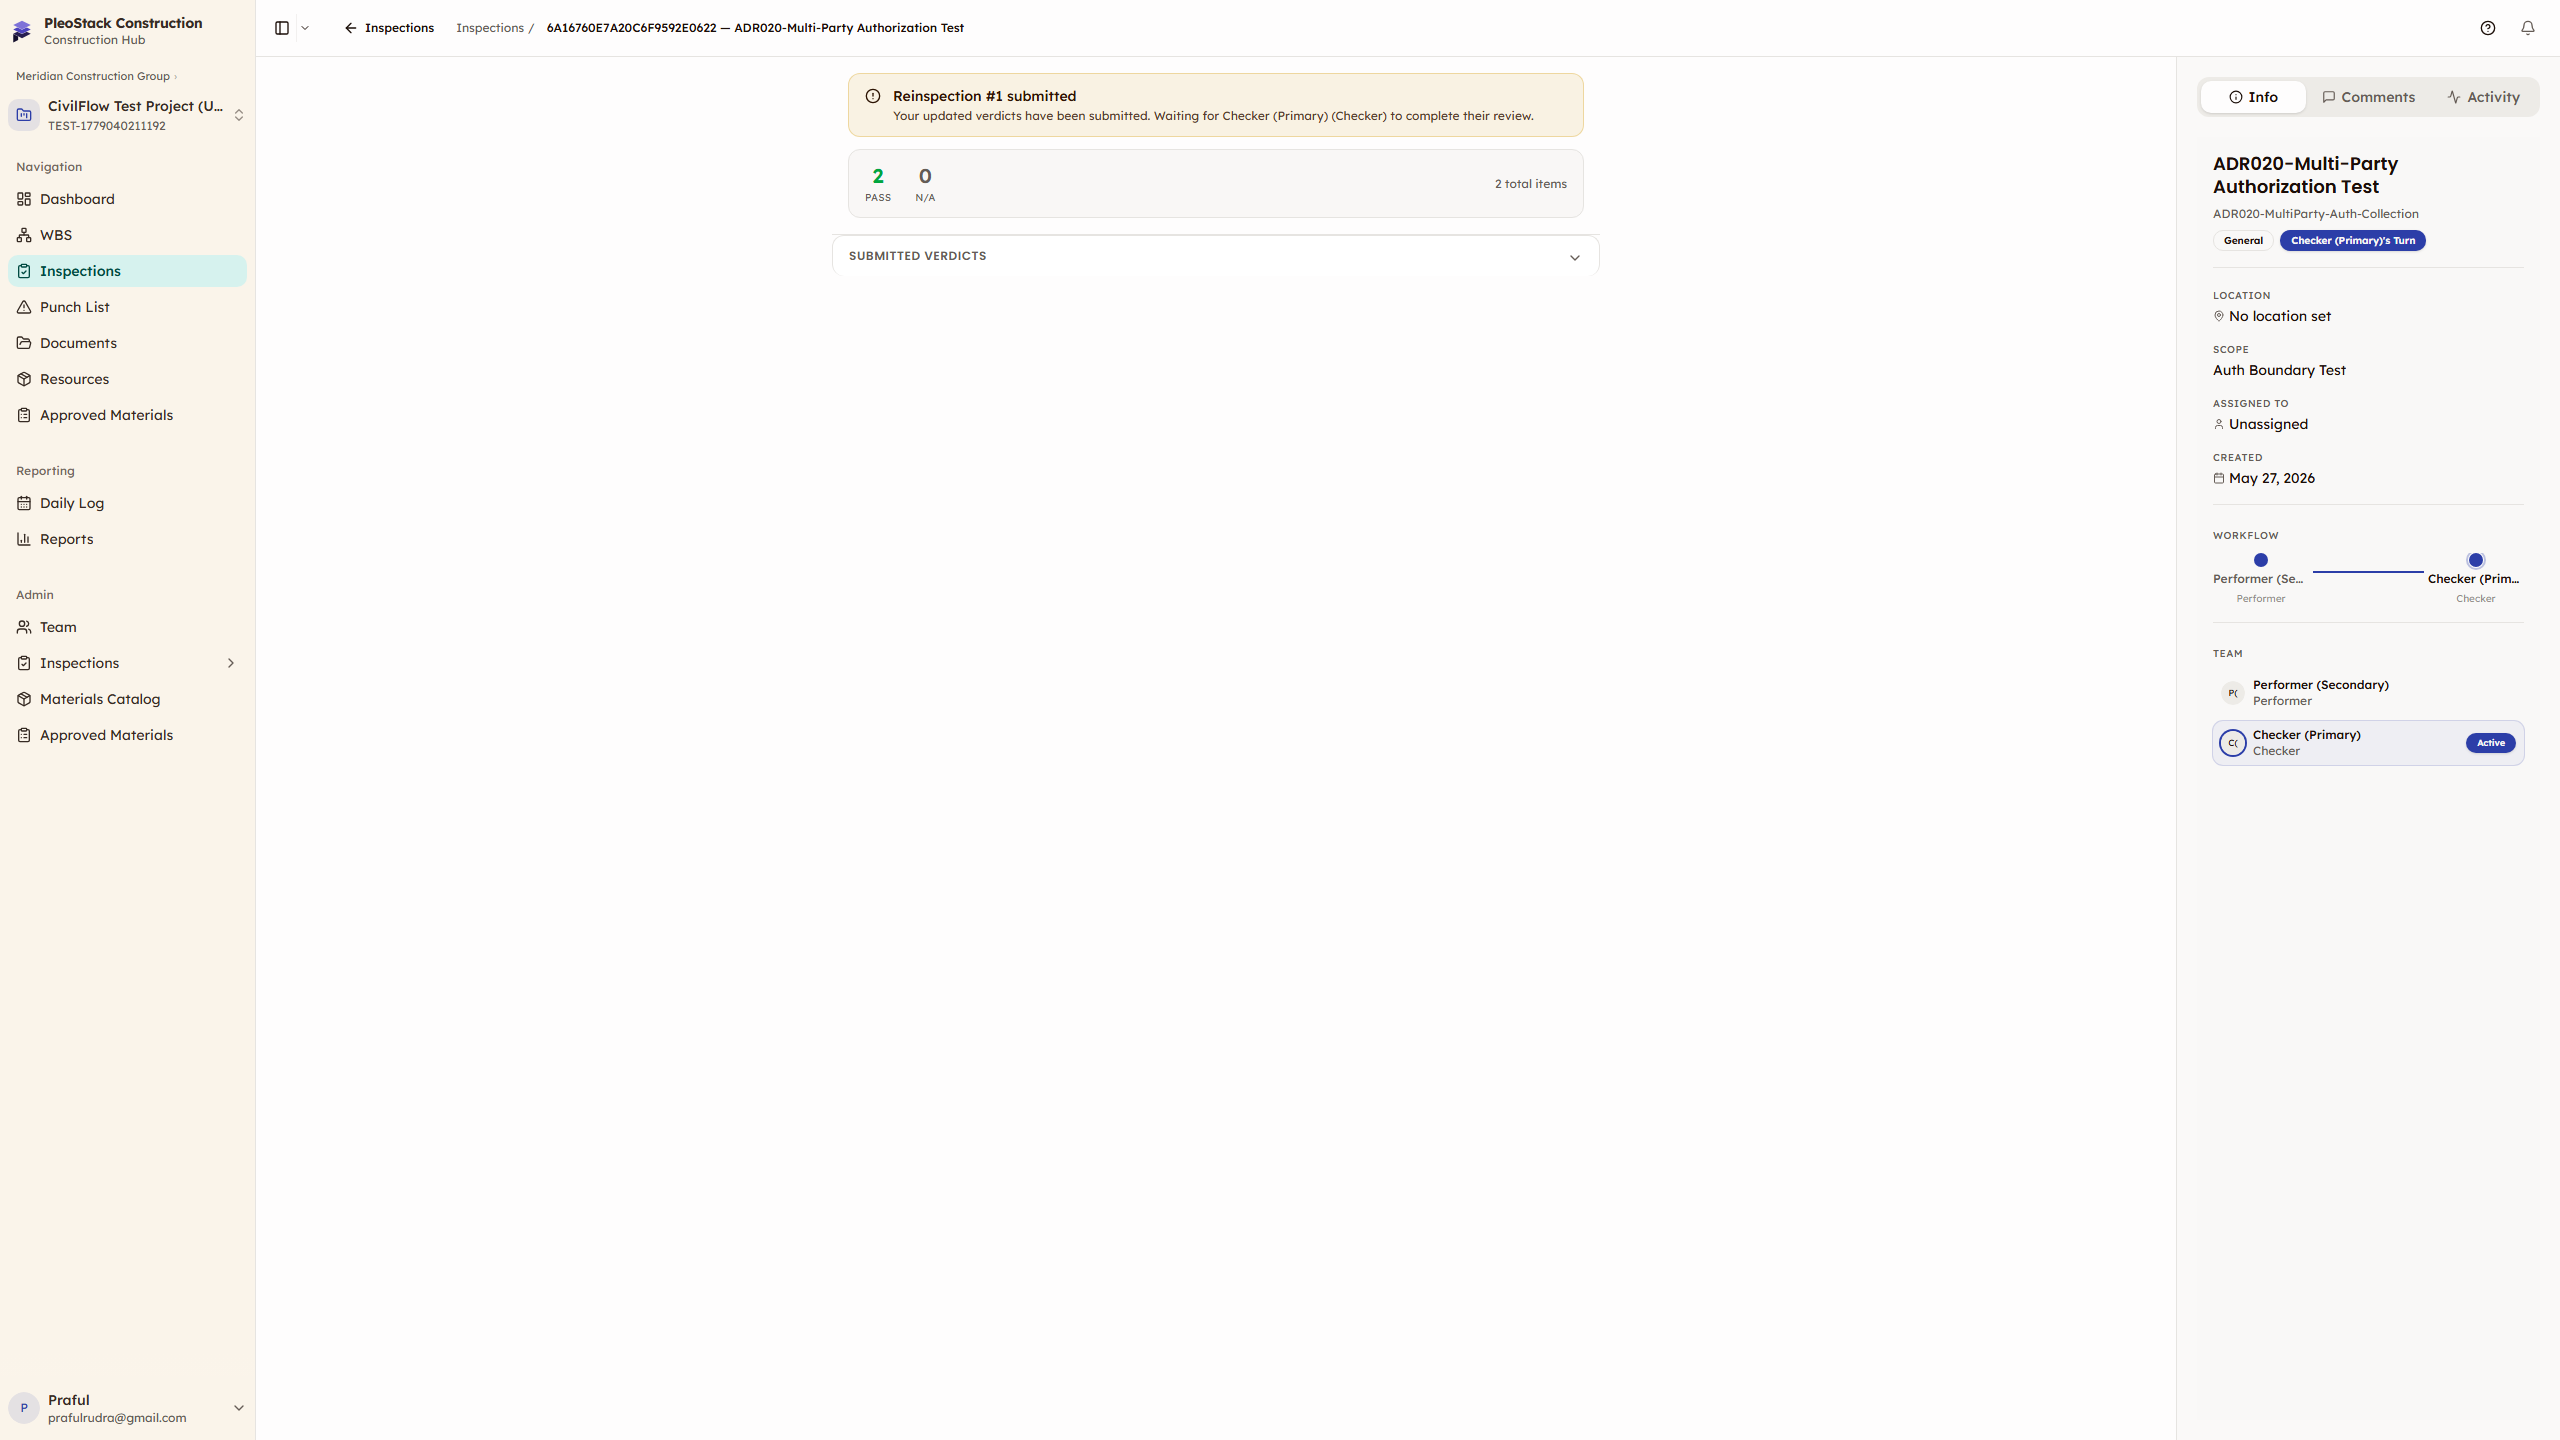
The Inspection Detail page is where field work happens. You go through each checklist item, record a verdict, attach evidence if needed, and submit your results for the next party to review.
Page Layout
The detail page has three main areas:
| Area | What It Shows |
|---|---|
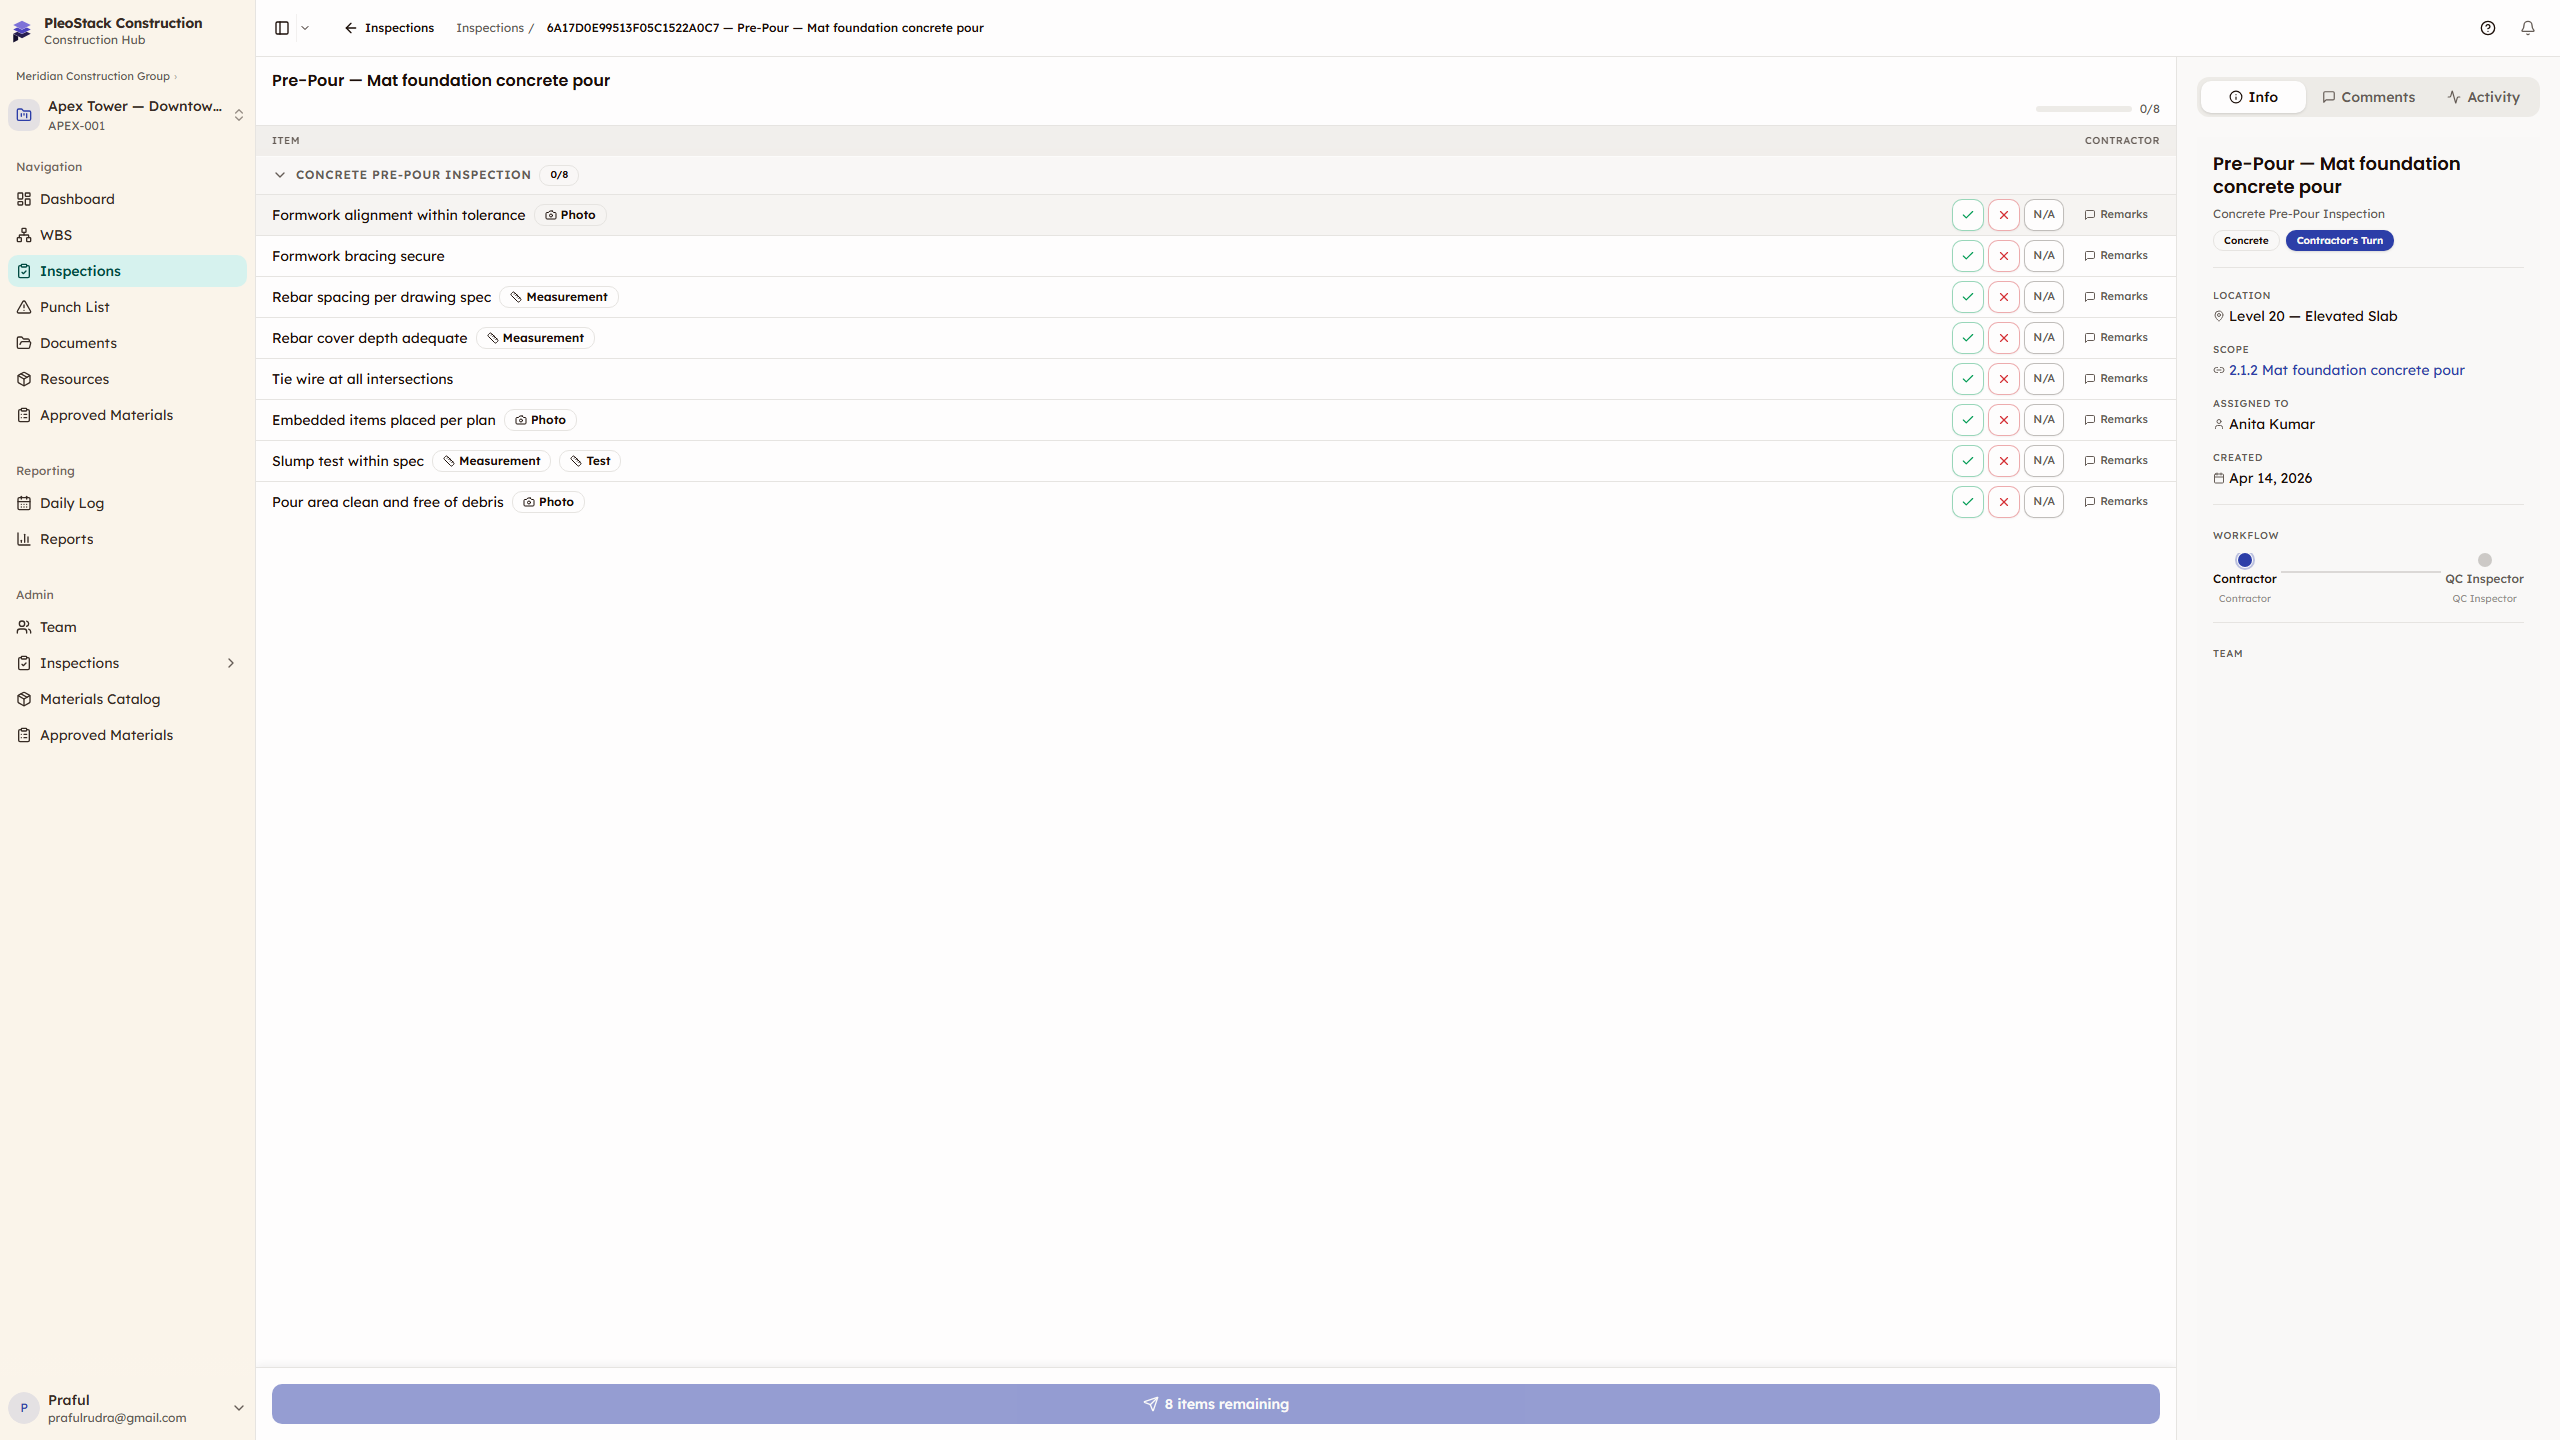
| Top bar | Inspection name, status badge, progress bar, and action buttons (Submit, Export) |
| Main content | Checklist items in a table (desktop) or card view (mobile) with verdict buttons |
| Info panel | Right sidebar with metadata — parties, scope, timeline, linked punches, activity log |
What You See Depends on Your Role
| Role | View |
|---|---|
| Performer (active) | Verdict buttons on each item — Pass ✓, Fail ✗, N/A —. Can record results and attach evidence. |
| Checker/Approver (active) | Prior party's verdicts visible alongside your own verdict buttons. You're reviewing their work. |
| Not your turn | Read-only view. You can see existing verdicts but can't change anything until the workflow reaches your step. |
| Completed | Comparison table showing all parties' verdicts side by side. Outcome banner with pass/fail result. |
Ready State (Not Started)
When a Performer first opens an inspection that hasn't been started:

- A preview of checklist items is shown (read-only)
- Click Begin Inspection to start — status changes to In Progress
- Verdict buttons appear and you can begin recording
Recording Verdicts
Each checklist item has three verdict options:
| Verdict | Symbol | Color | Notes Required |
|---|---|---|---|
| Pass | ✓ | Green | Optional |
| Fail | ✗ | Red | Mandatory — explain the failure |
| N/A | — | Gray | Optional |
Click the verdict button on the item row. To change a verdict, click a different button — the previous selection is replaced.
Item Detail Sheet
Click an item label to open the detail sheet (side drawer):
- Verdict selection — same Pass/Fail/NA buttons
- Notes field — multi-line text for observations and failure explanations
- Evidence upload — attach photos from camera or gallery, GPS auto-captured
- Auto-punch toggle — creates a punch item for this failure
- History — see prior party verdicts on this item (during review)
Evidence
Attach photos to any checklist item:
- Click the camera/evidence button on the item row or in the detail sheet
- Take a photo or select from gallery
- GPS coordinates are auto-captured from your device
- Multiple photos can be attached per item
Evidence Policy
When "Require Evidence on Fail" policy is enabled, at least one photo or document is mandatory for every failed item. The submission will block until evidence is provided.
Submission
When all items have verdicts:
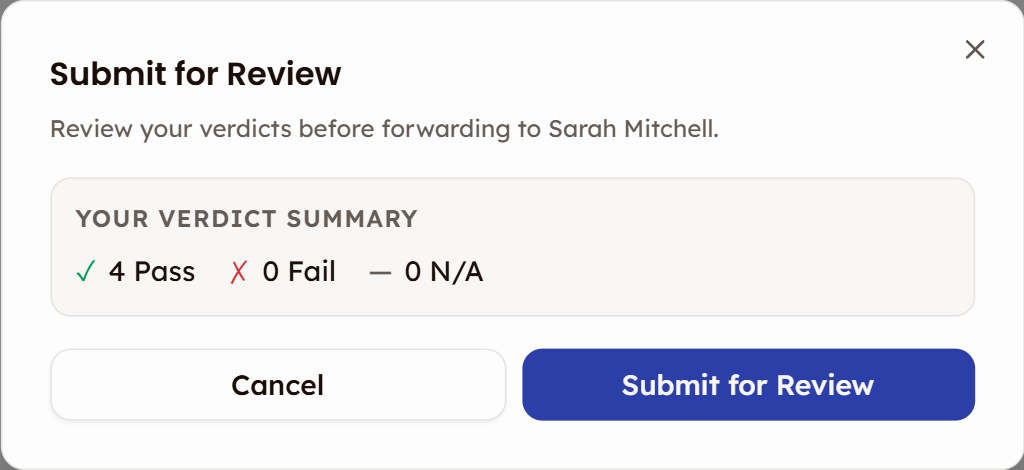
- Click Submit for Review (Performer/Checker) or Approve/Reject (Approver)
- A confirmation dialog shows the verdict summary and any validation warnings
- Confirm → the inspection advances to the next party
Validation requirements:
- All items must have a verdict
- Failed items must have notes
- Failed items must have evidence (when policy requires it)
After submission, your verdicts become read-only and the next party is notified.
Mobile View
On phones and tablets, the detail page switches to a card-based layout:
- Swipe Mode — one item at a time, swipe to navigate (ideal for phones)
- Table Mode — compact list showing multiple items (faster for experienced users)
- Camera button always accessible for evidence capture
Next Steps
- Verdicts & Evidence — Detailed guide on recording verdicts and managing evidence
- Multi-Party Flow — How the sequential review workflow operates
- Reinspection — What happens when an inspection is rejected