Getting Started with Inspections
A complete walkthrough from building templates to executing your first inspection and reviewing results.
This guide walks you through the complete Inspections workflow — from setting up templates to running a field inspection, reviewing results across parties, and handling defects. By the end, you'll have a working inspection cycle.
- Build checklist templates with items to inspect
- Group checklists into collections for multi-part inspections
- Create an inspection from a collection, assign parties
- Performer records verdicts in the field → submits for review
- Checker and Approver review → approve or reject
- Failed items create punch items → resolve → reinspect
Before You Begin
Prerequisites
You need at least Engineer role to access Inspections. Admin permissions are required to create and manage templates.
If your project has Inspection Policies configured (Admin → Inspection Policies), those policies control evidence requirements, auto-punch defaults, and reinspection behavior.
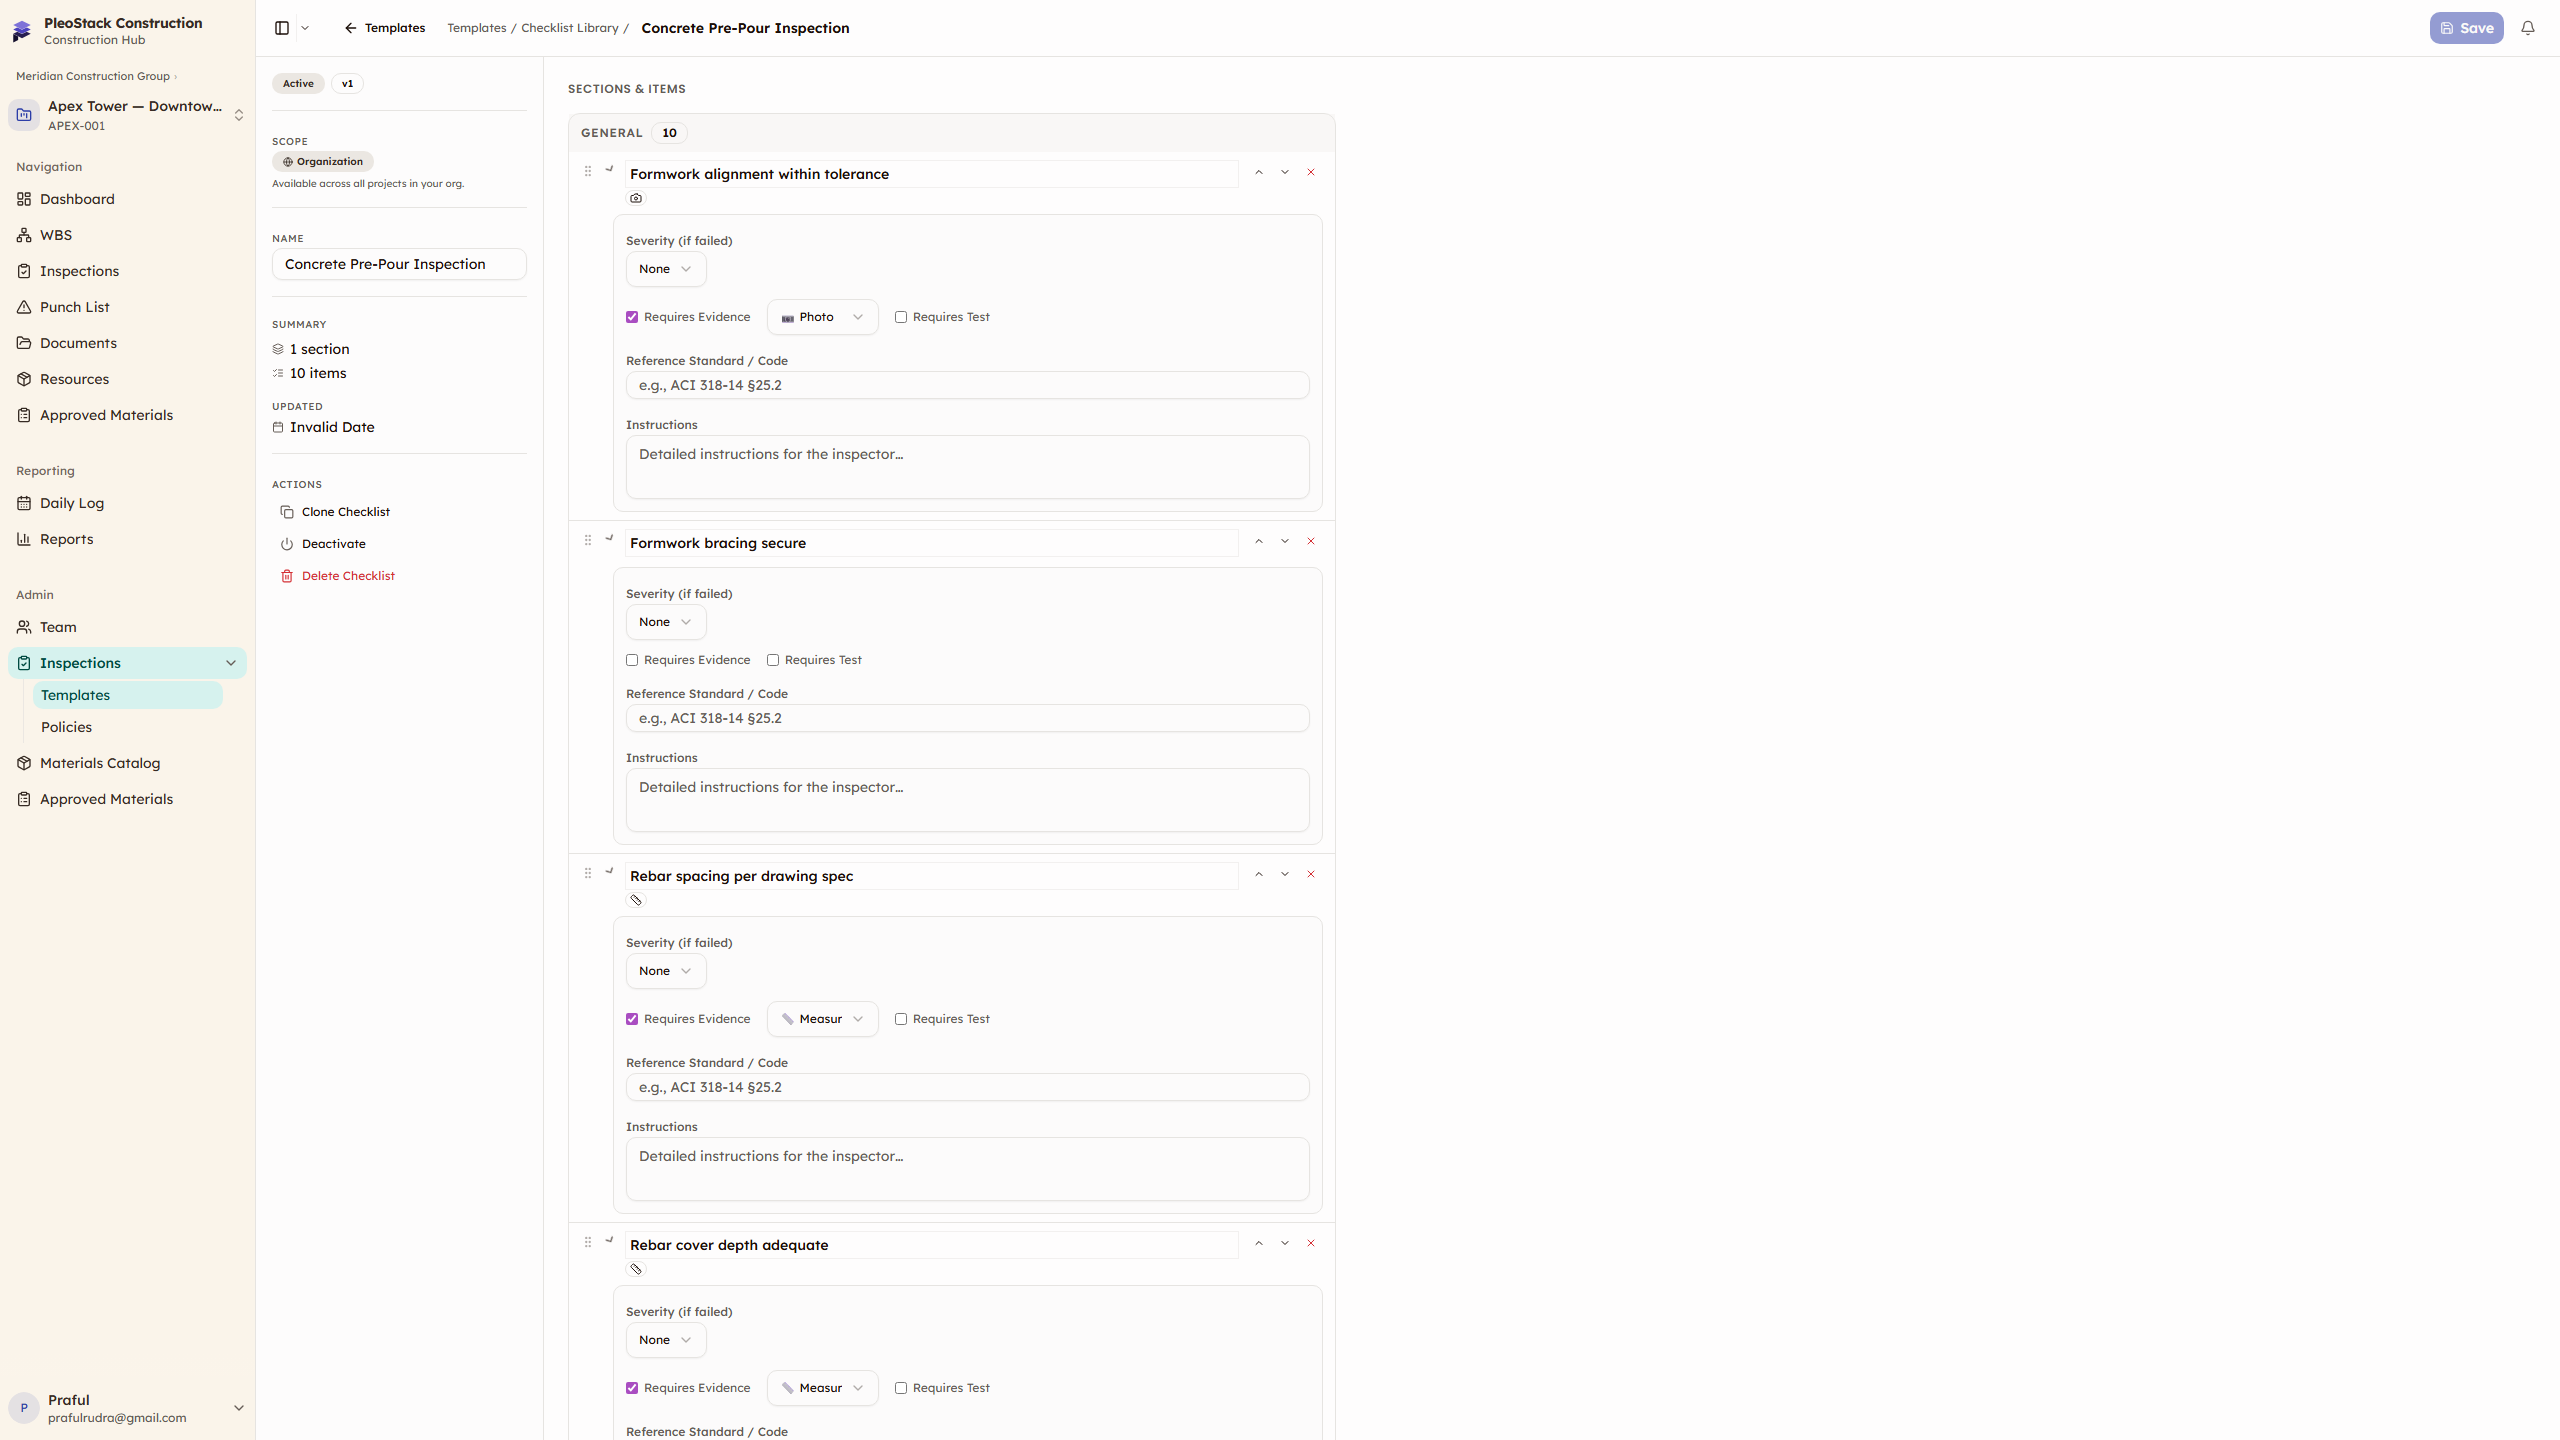
Set Up Your Templates
Before running inspections, create the checklists that define what to check:
- Go to Inspections → Templates → Checklist Library tab
- Click New Checklist → enter a name (e.g., "Reinforcement Inspection") and select a category
- Add items — each item describes one thing to check:
- Label: "Rebar spacing at 150mm c/c per drawing"
- Response type: Pass/Fail (default)
- Severity: Critical, Major, Minor, or Observation
- Organize items into sections (e.g., "Main Bars", "Stirrups", "Cover")
- Click Save
Repeat for each checklist type you need — one for reinforcement, one for formwork, one for safety, etc.
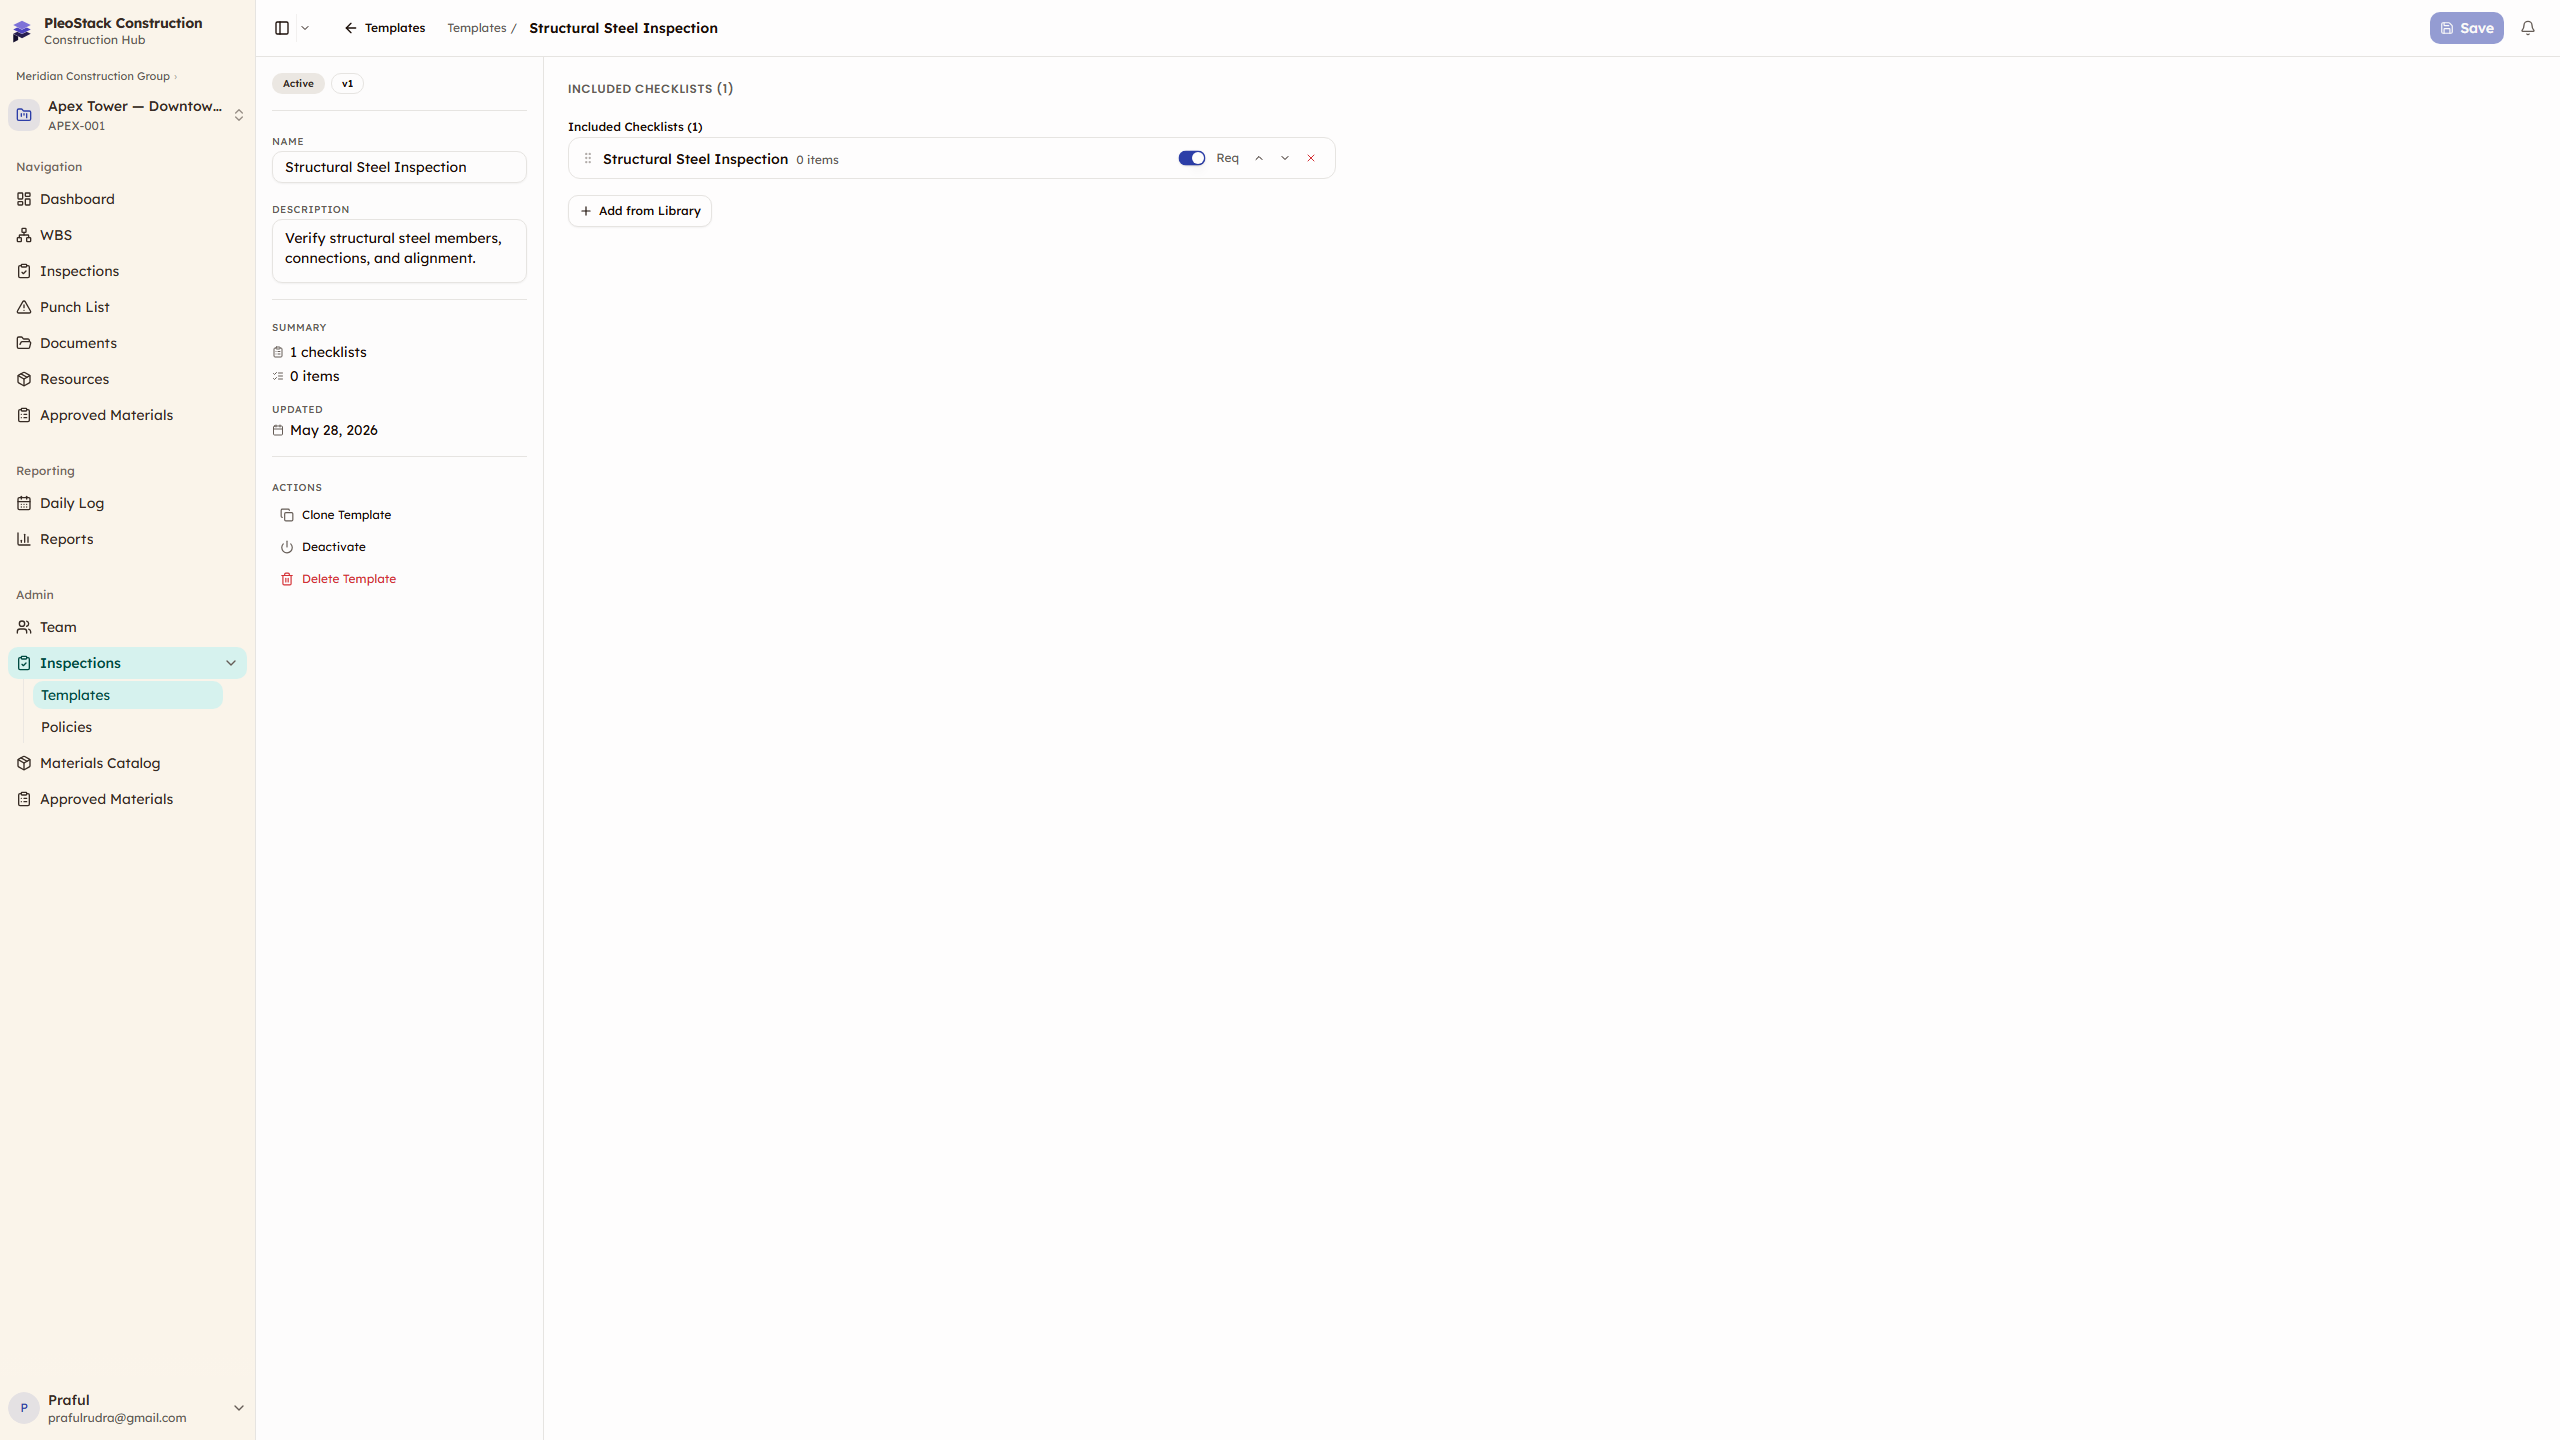
Create a Collection
Collections group related checklists so you can run them together:
- Switch to the Templates tab (collections view)
- Click New Collection → enter name (e.g., "Concrete Pre-Pour")
- Add your checklists — select from the library, mark some as required
- The collection is now available as a source when creating inspections
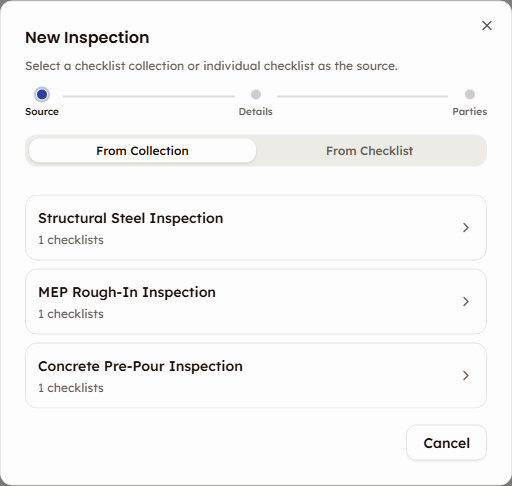
Create an Inspection
- Go to Inspections (main list page)
- Click New Inspection → the creation wizard opens
- Step 1 — Source: Select your collection (e.g., "Concrete Pre-Pour")
- Step 2 — Details: Set the inspection name, location, and scope (link to WBS items or enter custom)
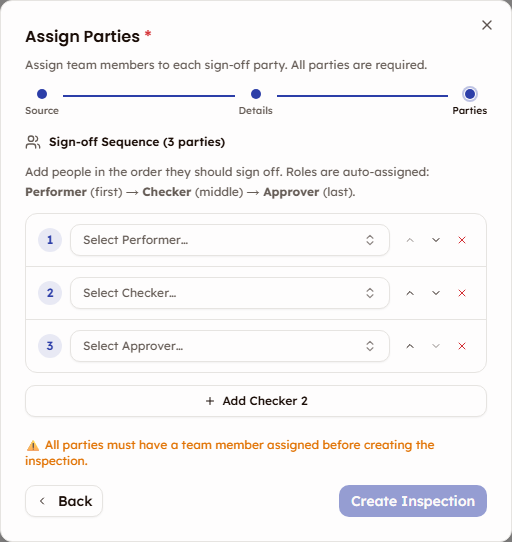
- Step 3 — Parties: Assign team members to Performer, Checker, and Approver roles
- Click Create
The inspection appears in the list as Not Started.
Execute the Inspection (Performer)
The Performer goes to the site and records results:
- Click the inspection in the list → the detail page opens
- Click Begin Inspection → checklist items appear with verdict buttons
- For each item:
- Click Pass (✓) if it meets requirements
- Click Fail (✗) if it doesn't — add mandatory notes explaining the failure
- Click N/A (—) if the item doesn't apply
- For failed items → optionally toggle Auto-Create Punch Item
- Attach photo evidence using the camera button
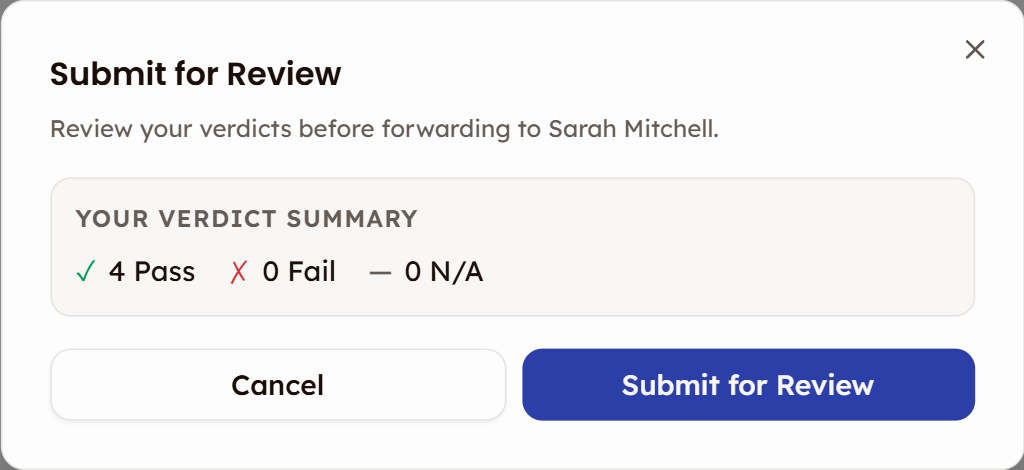
- When all items have verdicts → click Submit for Review
The inspection advances to the Checker.


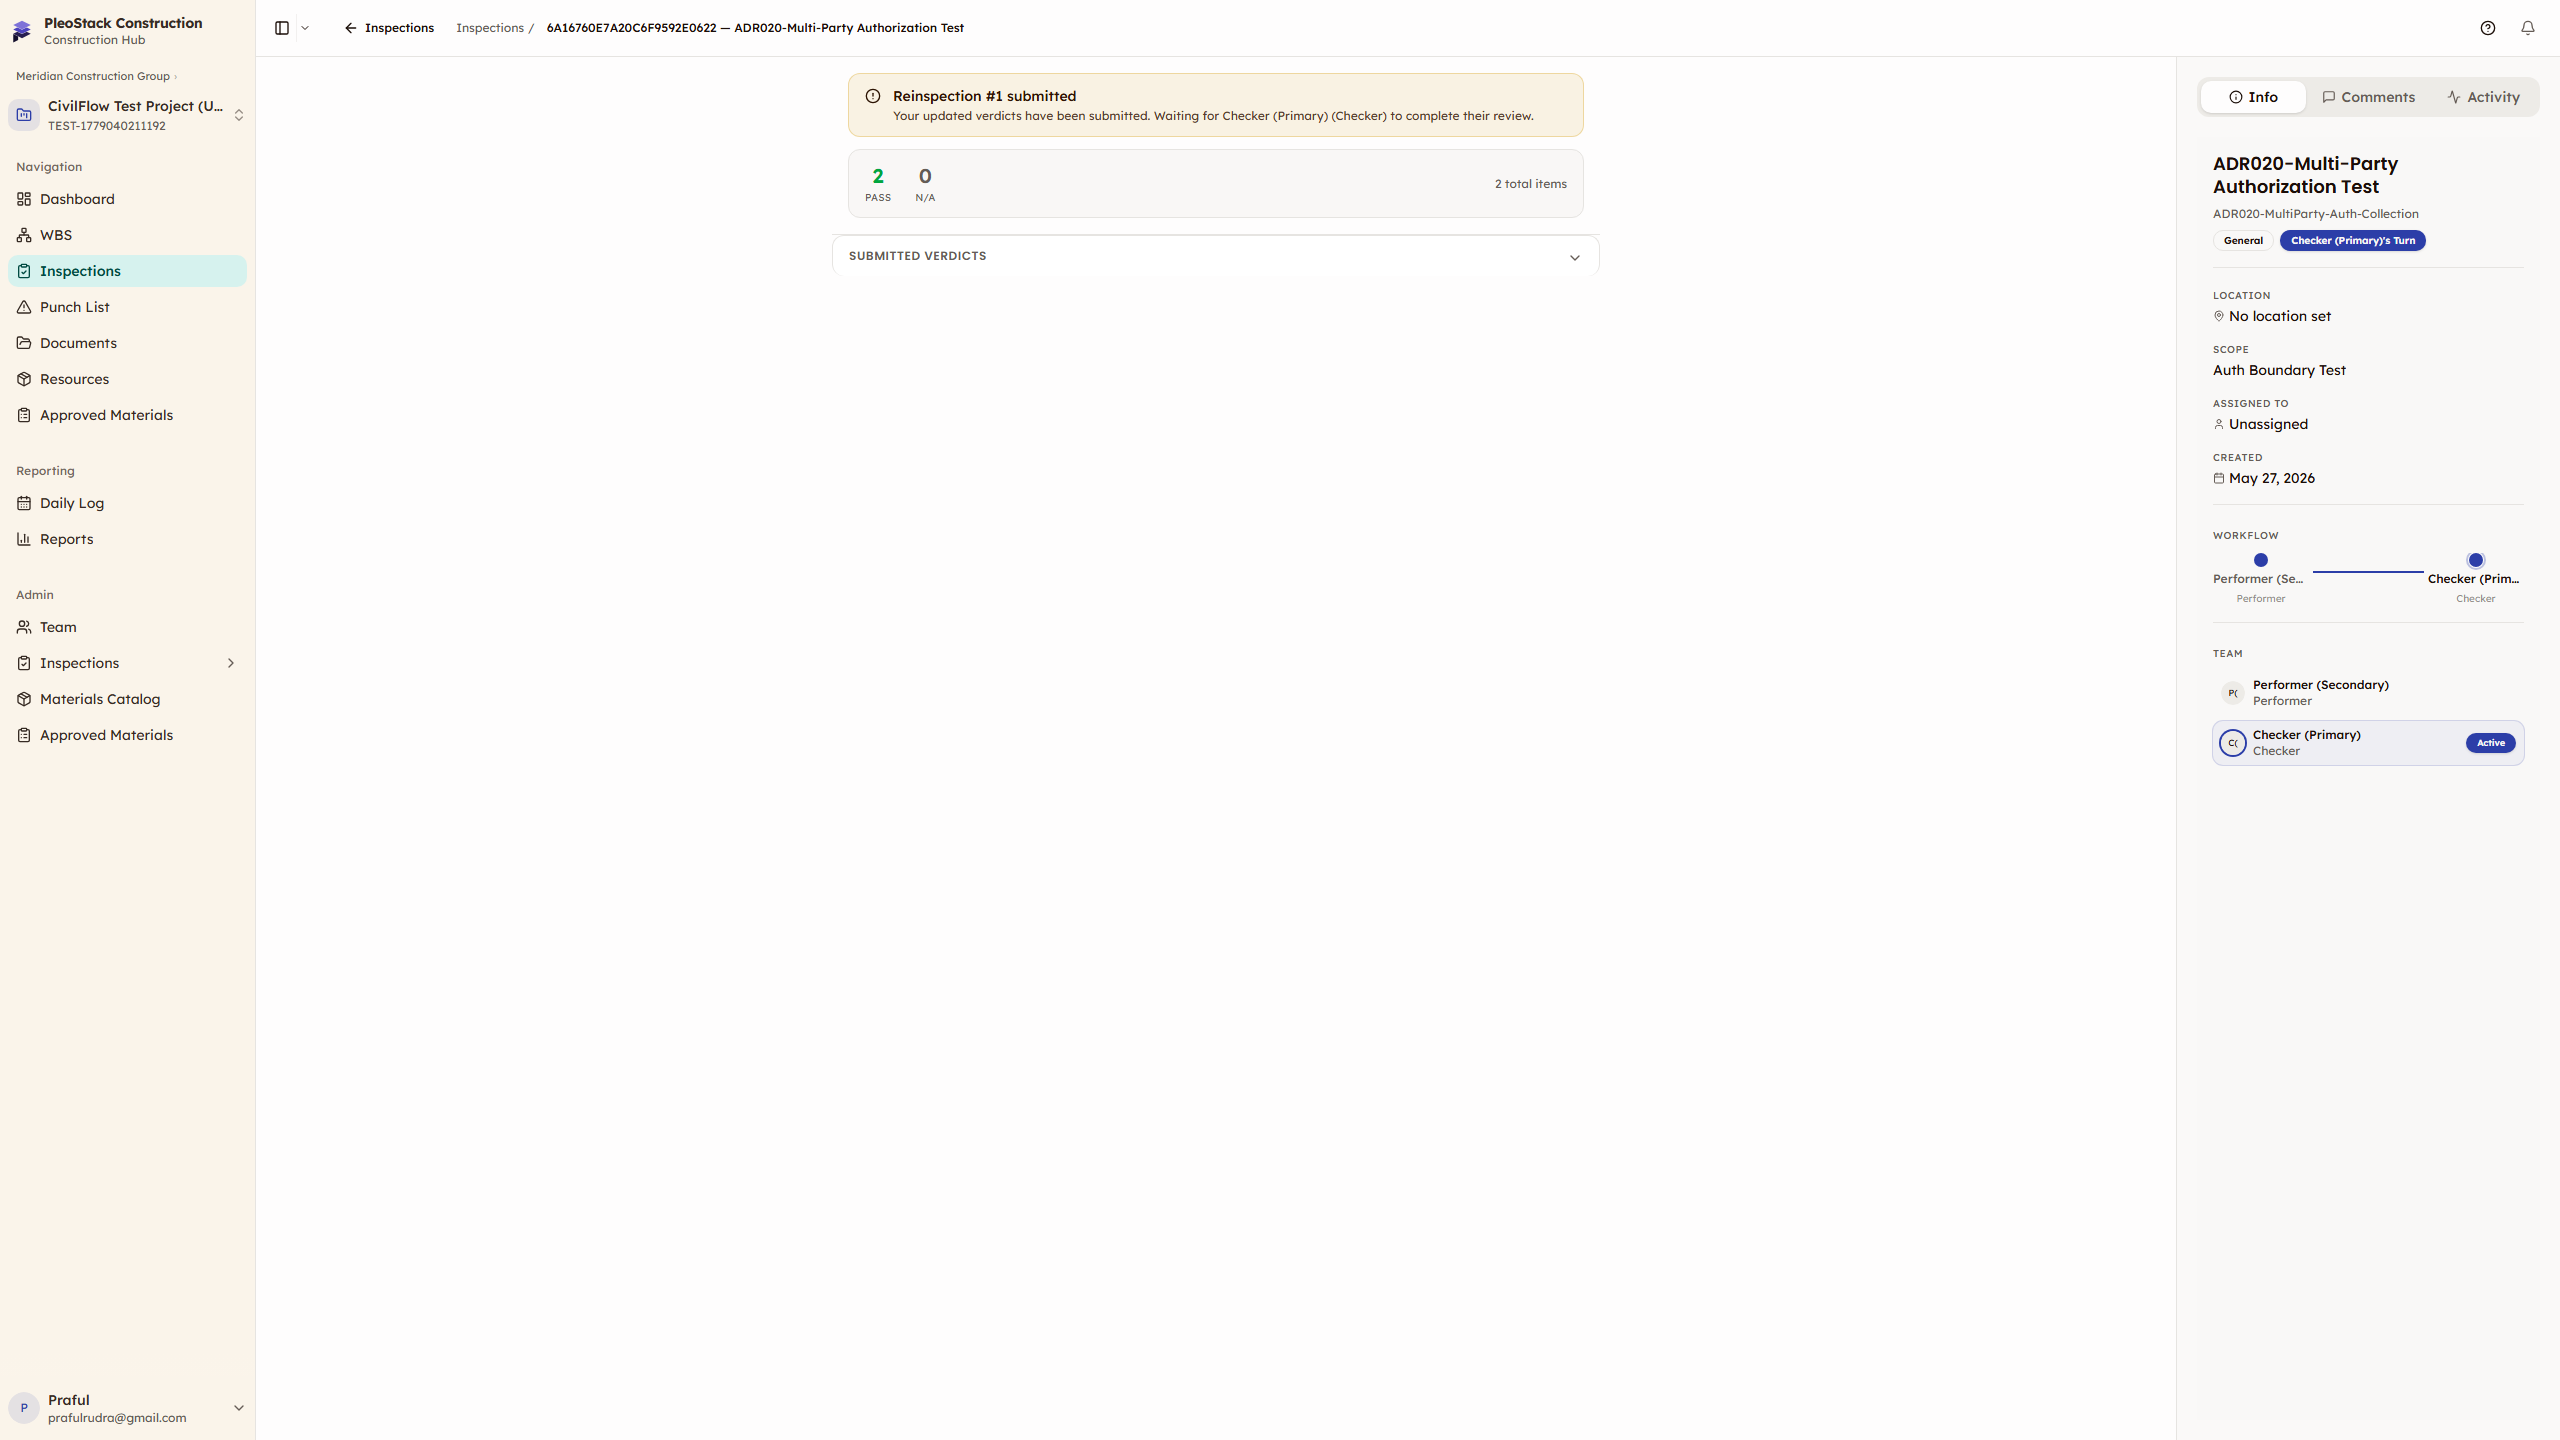
Review and Approve (Checker → Approver)
The Checker reviews the Performer's work:
- Open the inspection → see all verdicts, notes, and evidence from the Performer
- Record your own verdicts — agree or disagree with each item
- Click Approve & Forward → advances to the Approver
The Approver makes the final call:
- Review verdicts from both prior parties
- If satisfied → Approve Inspection (status: Completed, verdict: Pass)
- If issues found → Reject → triggers reinspection, cycles back to Performer
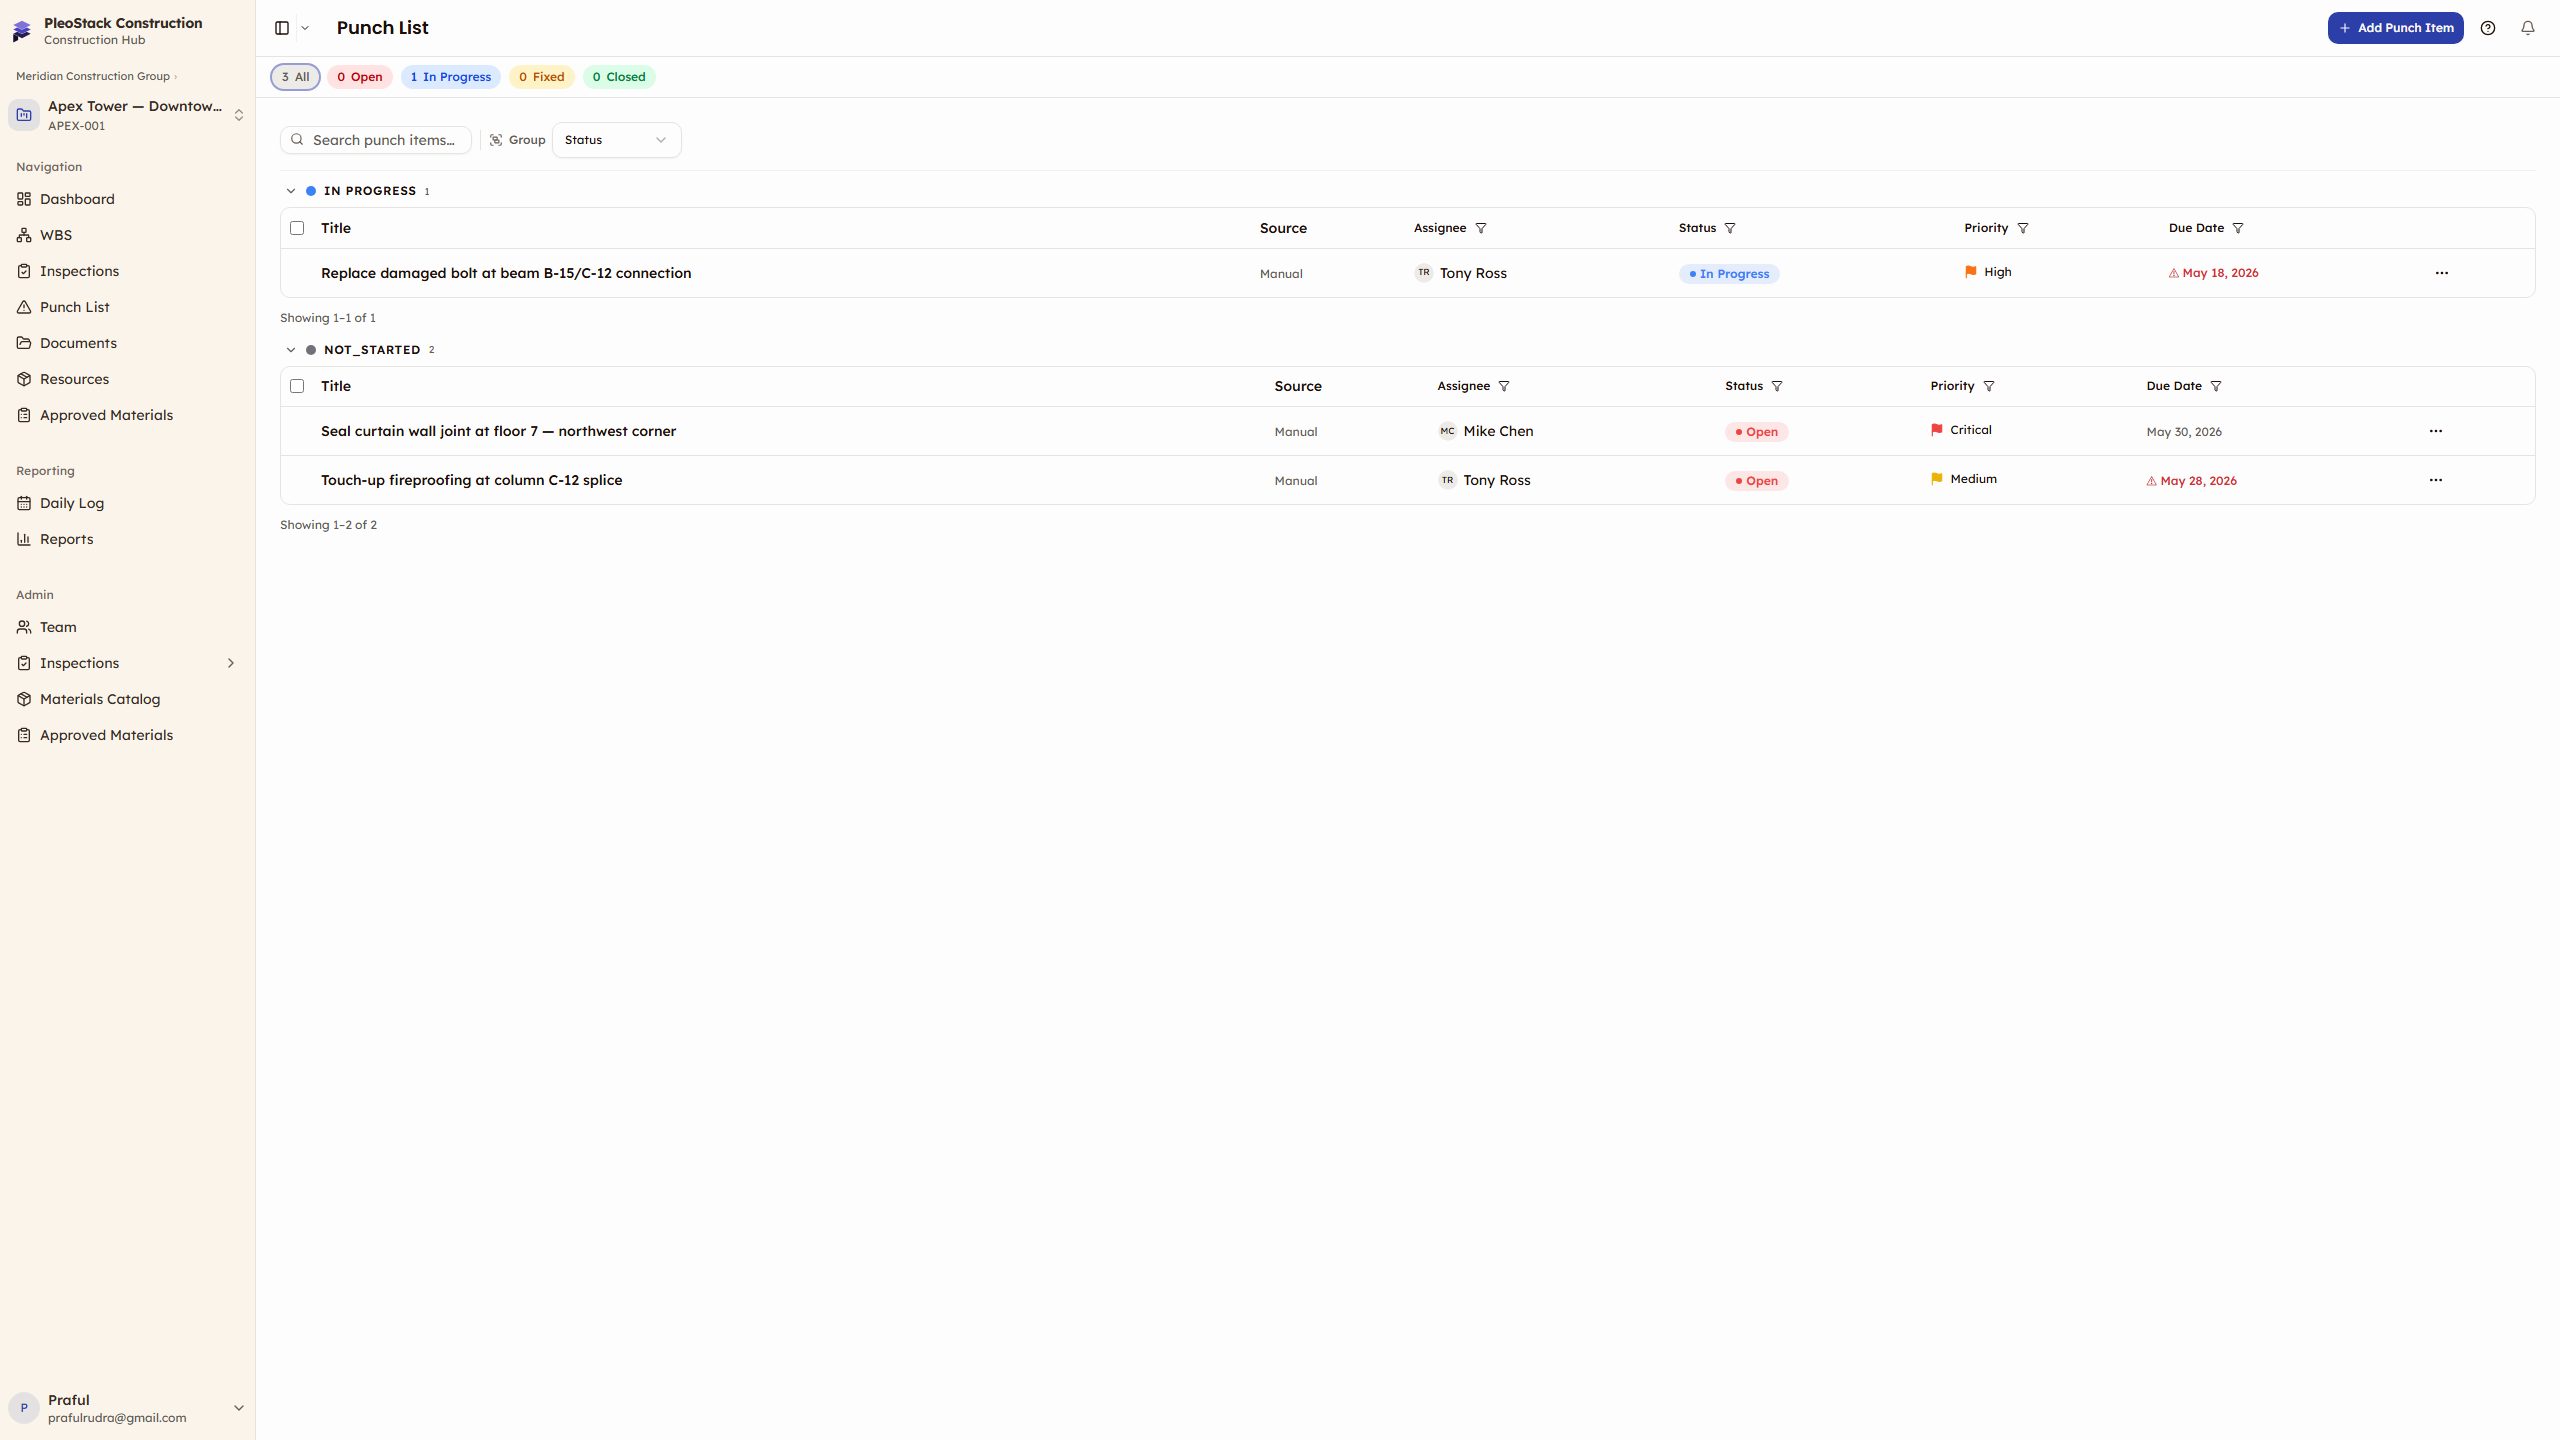
Handle Punch Items (If Any)
Failed items with auto-punch create entries in the Punch List:
- Go to Inspections → Punch List
- Find the punch items linked to your inspection
- Assignee works on the fix → updates status: Start Fix → Mark Fixed
- When all punches are Fixed → the Performer can reinspect
- On successful reinspection → punches auto-close

Next Steps
Now that you understand the workflow:
- Inspections Hub — Managing your inspection list
- Execution — Deep dive into recording verdicts and evidence
- Multi-Party Flow — How the sequential review workflow operates
- Templates — Building and managing inspection templates
- Punch List — Tracking defect resolution
Watch For
- All party slots must be filled before an inspection can start — assign Performer, Checker, and Approver
- Notes are mandatory on Fail — the submission will block if any failed item is missing notes
- Evidence required — if the "Require Evidence on Fail" policy is enabled, photos are mandatory for every failed item
- Punch resolution gates reinspection — if the policy is enabled, all linked punch items must be Fixed before the Performer can re-submit