Building Templates
Step-by-step guide to creating checklist templates with items, sections, and response types, and grouping them into collections.
This guide walks through creating checklist templates and collections — the building blocks for every inspection.
Creating a Checklist
1
Start a New Checklist
- Go to Inspections → Templates → Checklist Library tab
- Click New Checklist
- Enter a name (e.g., "Reinforcement Inspection — Foundations")
- Select a category: Concrete, Steel, MEP, Safety, Closeout, or Custom
2
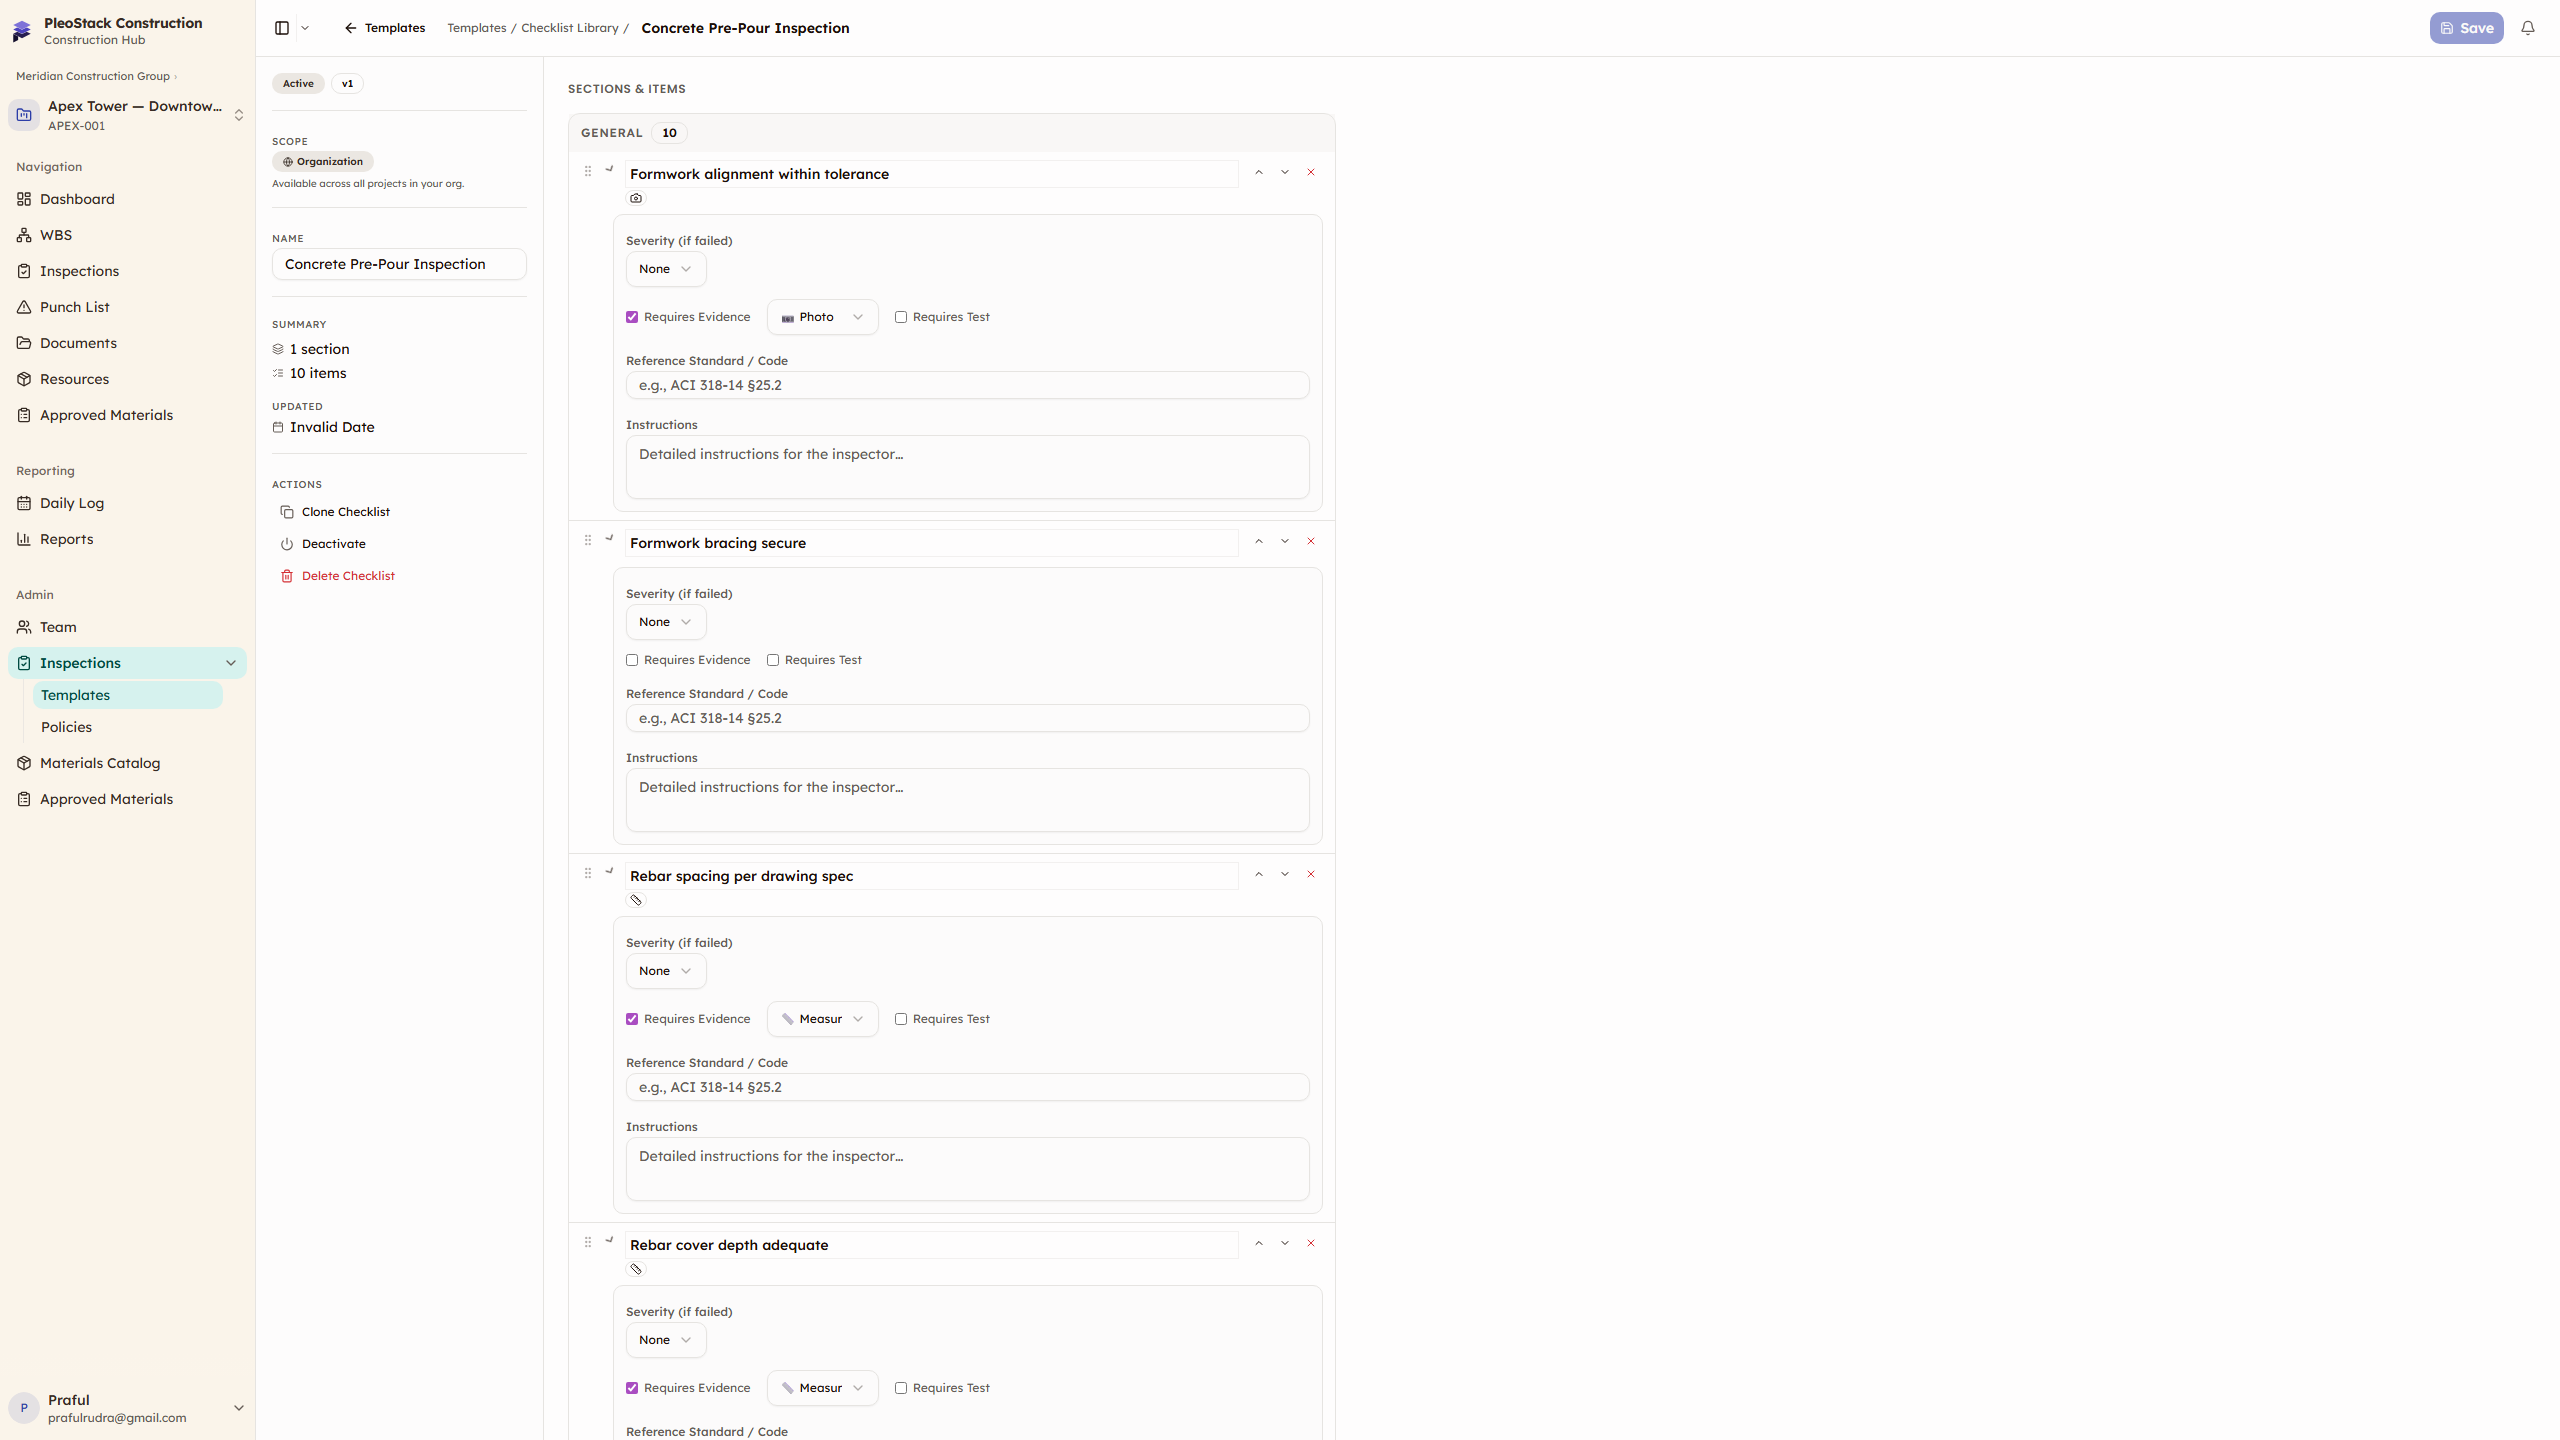
Add Items
Each item describes one thing to check during the inspection:
- Click Add Item
- Set the label — be specific and measurable: "Rebar spacing at 150mm c/c per drawing" not "Check rebar"
- Add a description for additional context or specification details
- Choose response type: Pass/Fail (default), Yes/No/N/A, Measurement, etc.
- Set severity: Critical, Major, Minor, or Observation (critical items flag more prominently on failure)
- Toggle evidence required if photos should be mandatory for this item
3
Organize into Sections
Group related items under section headers:
- Click Add Section → name it (e.g., "Main Bars", "Stirrups", "Cover")
- Drag items into sections
- Drag sections or items to reorder
- Sections become collapsible groups during inspection execution
4
Add Standard References
For items that reference codes or specifications:
- Add the standard in the description field (e.g., "Per IS 456:2000 Clause 26.5.1" or "ACI 318-14 §25.2")
- These references appear in the inspection detail and exported PDF reports
5
Save
Click Save — the version number auto-increments. The checklist is now available for use in collections or as a standalone inspection source.
Creating a Collection
1
Start a New Collection
- Go to Inspections → Templates → Templates tab (collections view)
- Click New Collection
- Enter a name (e.g., "Concrete Pre-Pour") and description
- Select a category
2
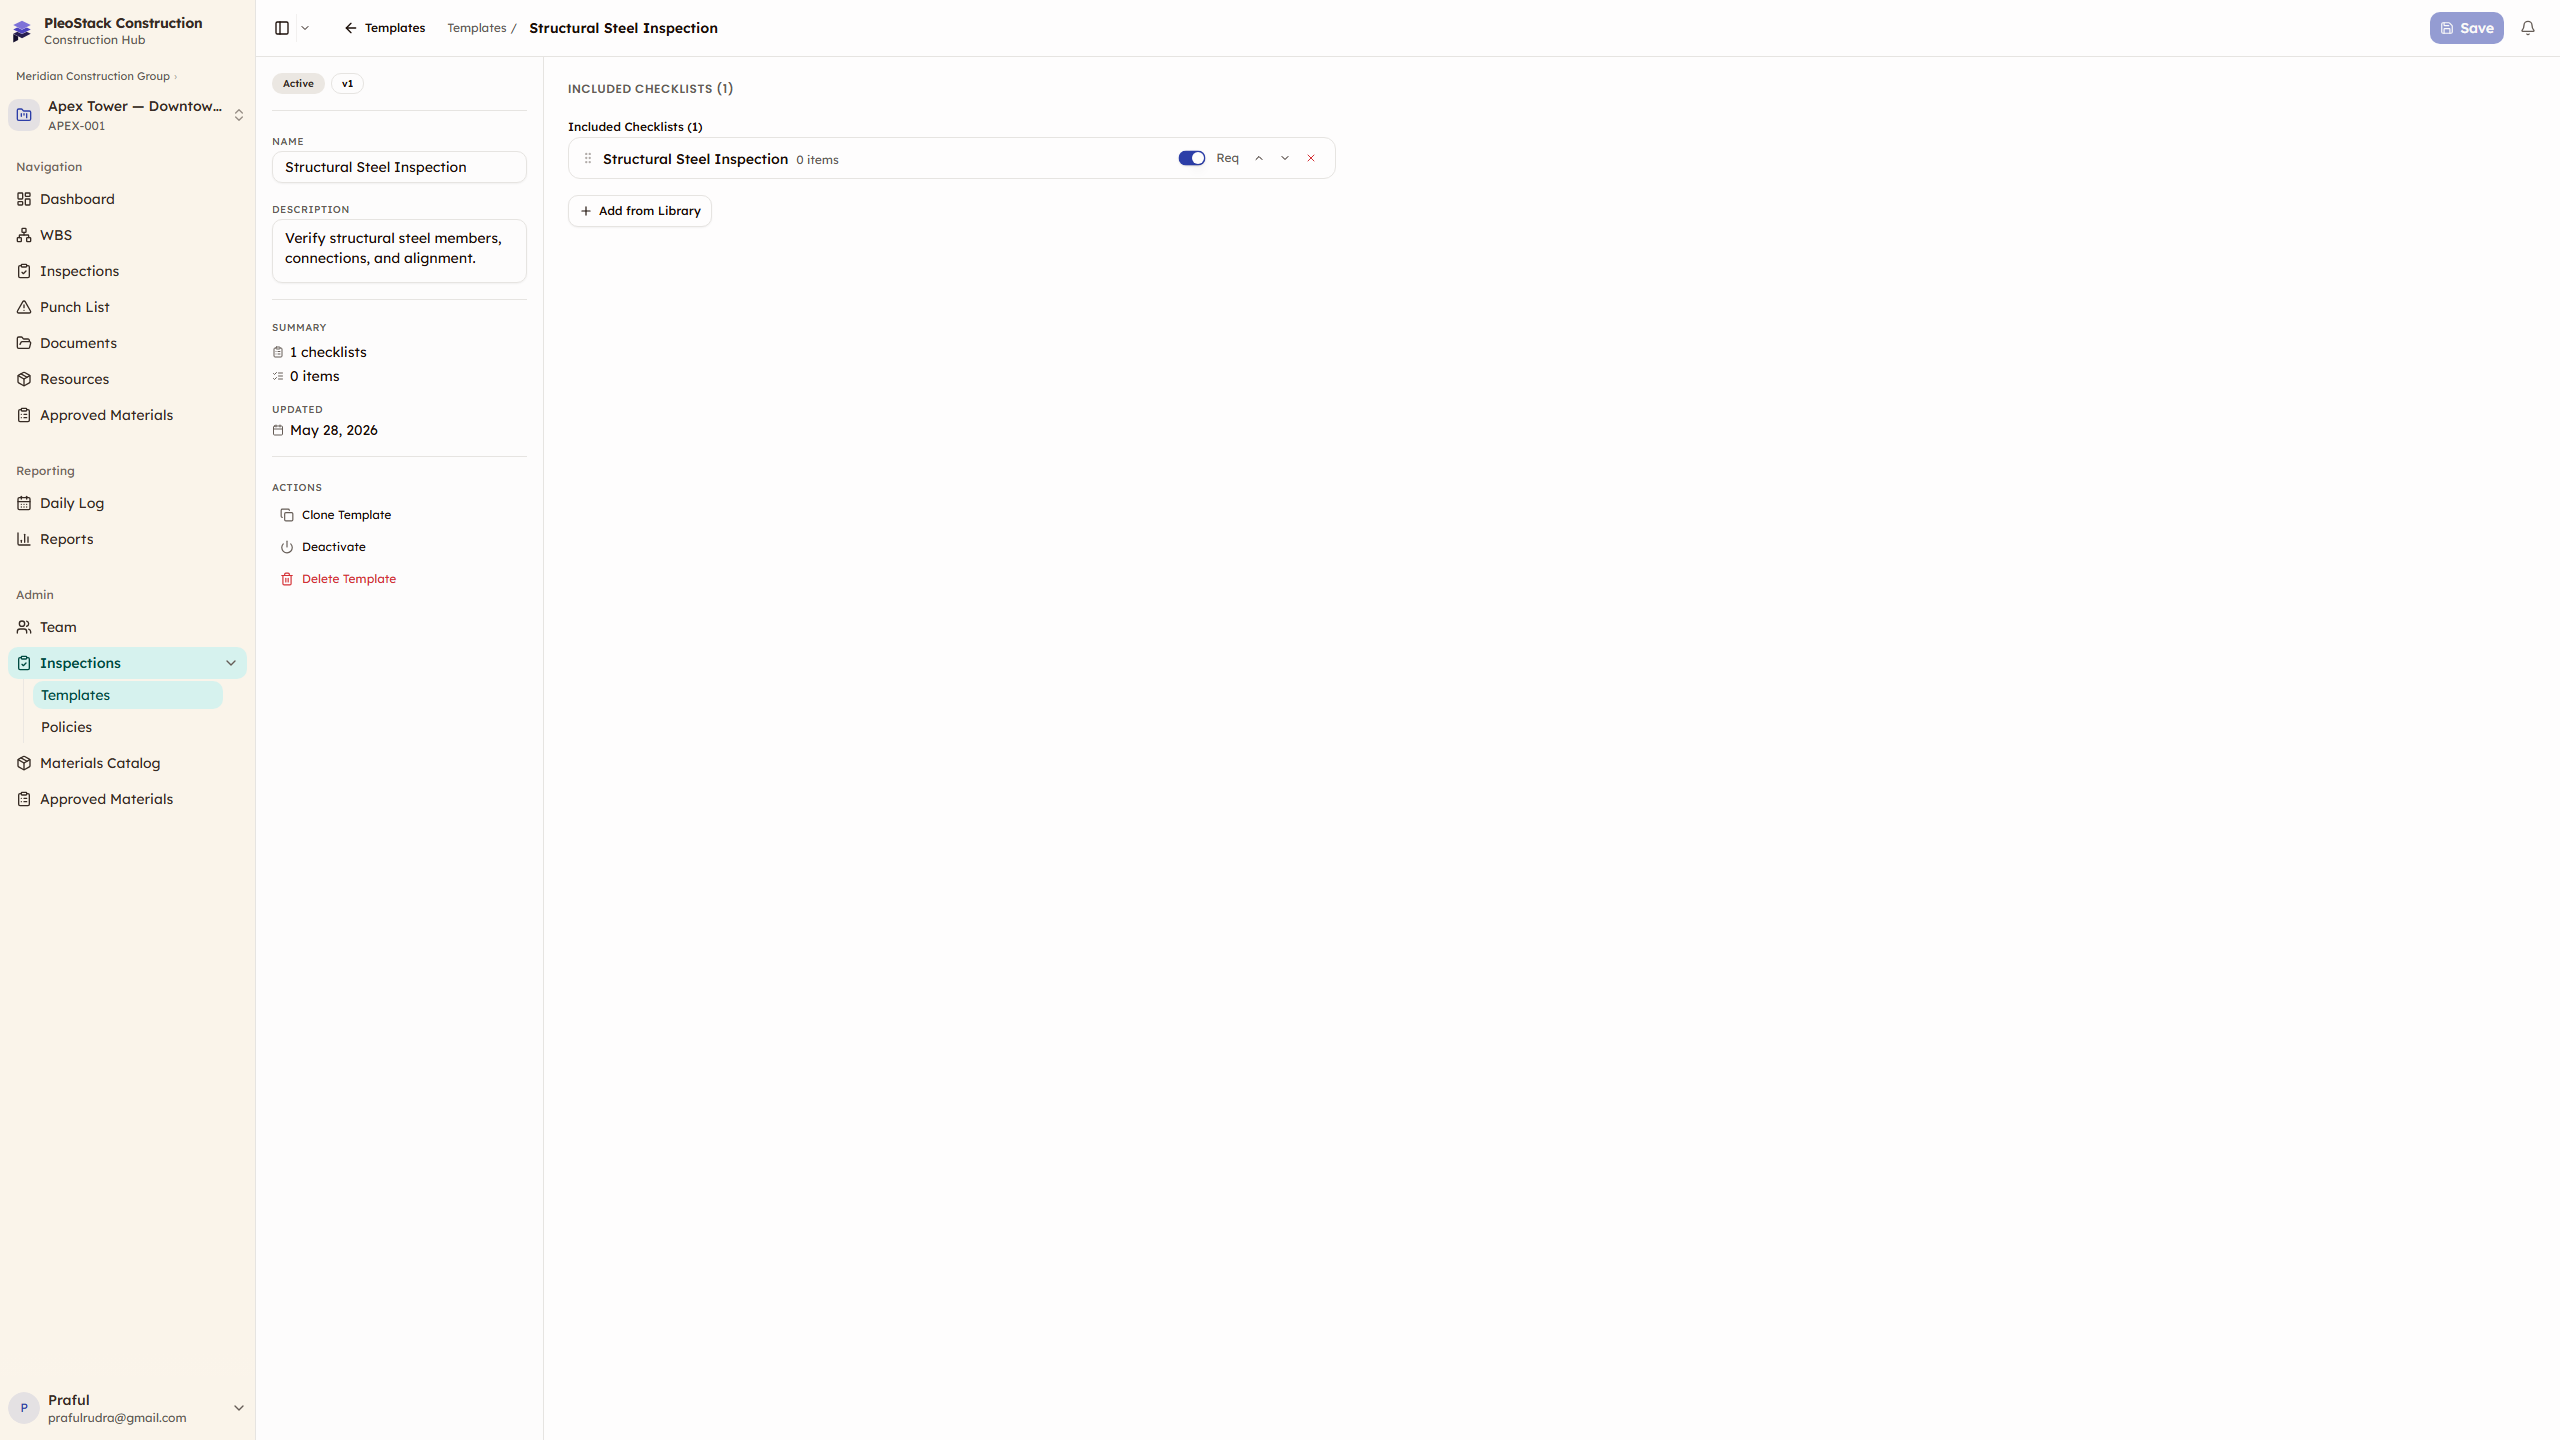
Add Checklists
- Click Add Checklist → select from your Checklist Library
- Mark checklists as required or optional
- Drag to reorder — order determines the sequence during inspection
- Add as many checklists as needed
3
Save
Click Save. The collection is now available as a source when creating inspections. All included checklists appear as sections in the inspection.
Response Types
| Type | User Input | When to Use |
|---|---|---|
| Pass/Fail | Pass ✓ / Fail ✗ / N/A — | Standard compliance checks |
| Yes/No/N/A | Yes / No / N/A | Simple binary questions |
| Conforming | Conforming / Non-Conforming / N/A | Standards compliance |
| Text | Free text entry | Observations, descriptions |
| Measurement | Numeric value + unit | Dimensional checks, readings |
| Select | Choose from predefined options | Condition ratings, grades |
Best Practices
- Specific labels — "Rebar spacing 150mm c/c" not "Check rebar". Measurable criteria reduce ambiguity.
- Reference standards — include IS codes, ACI, BS references where applicable
- Critical severity — use for safety-critical or structural items. Failures on critical items are highlighted prominently.
- Severity levels — Critical (red), Major (amber), Minor (blue), Observation (gray) — choose based on how urgently a failure needs attention.
- Section grouping — mirrors the physical inspection sequence on-site. Group by location, system, or trade.
- Evidence requirements — enable for items where photographic proof adds value (especially structural and safety items)
Managing Existing Templates
| Action | How | Notes |
|---|---|---|
| Edit | Click template → modify → Save | Version increments. Existing inspections unaffected. |
| Clone | Row menu → Clone | Creates a copy. Useful for variations. |
| Activate/Deactivate | Row menu → Toggle | Deactivated templates hide from creation wizard. |
| Promote | Row menu → Promote to Org | Makes project-level template available across all projects. |
| Delete | Row menu → Delete | Only works if no active inspections reference it. |
Next Steps
- Templates Overview — The two-level template system explained
- Creating Inspections — How templates are used when creating an inspection